In this article, we'll work through various updated information scenarios and how to apply them to your employees.
The workflows discussed in this KB article only apply to Traction Payroll customers.
Jump to a Section
Employee Name Change
Requires Ticket to Zeal
For name changes, please send the name as it appears in your system and what should be used as the new name to your Customer Success Representative or to success@tractionag.com with the subject Payroll Name Change.
Traction's Success Team will submit a ticket to our payroll partner, Zeal, for them to change the name on their end.
Once this has been submitted, you will also need to update the name associated with their Contact inside your traction account.
Employee E-mail Change
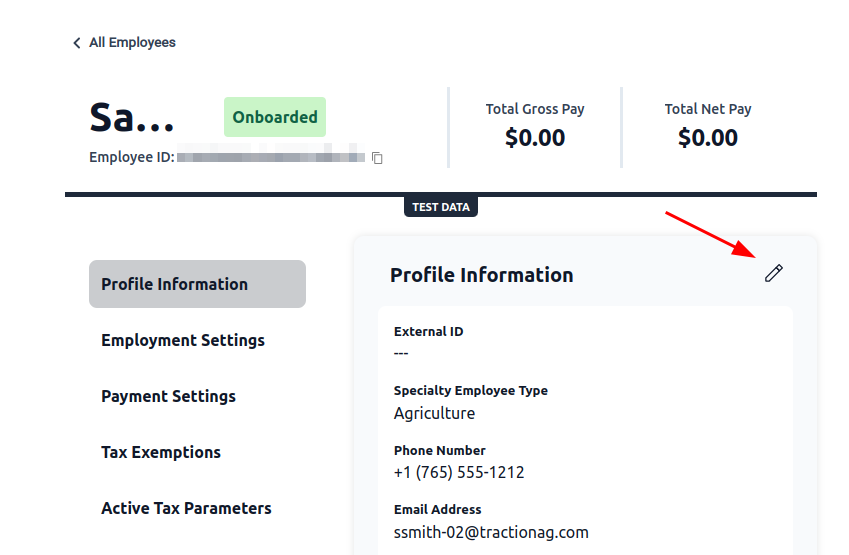
Update from the Payroll Dashboard
1. Open your Payroll Dashboard, click on People, find the Employee, click on the name of the Employee.

2. Click the Pencil icon to edit the Profile Information
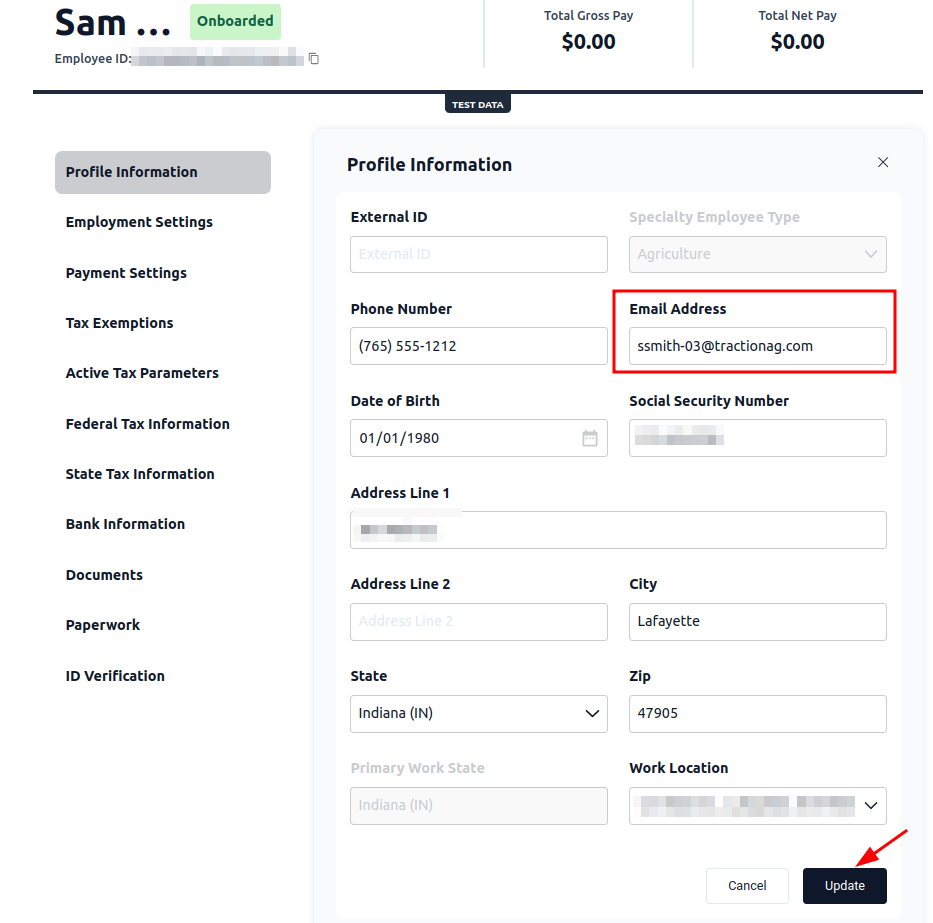
3. Type in the new e-mail and click the Update button
4. Now, inside Traction Accounting, update the Employee contact to the new e-mail as well. You can follow the directions in this KB article to walk you through that process.
Update Employee Address
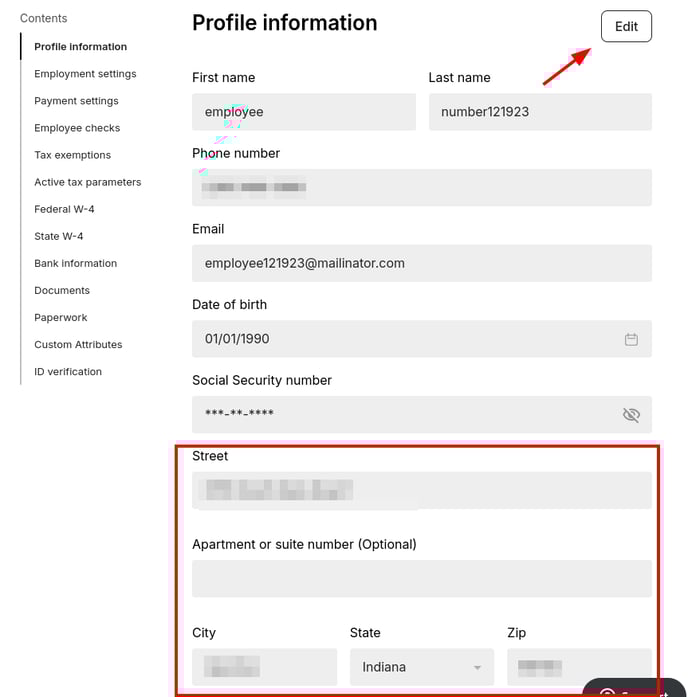
1. Open your Payroll Dashboard, click on People, find the Employee, click on the name of the Employee.
2. Click the Edit button on the Profile information page and make your adjustments.
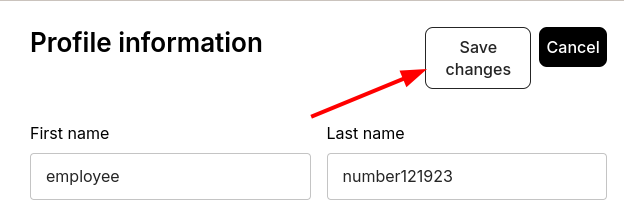
3. Review your changes and then click Save changes
Update Tax Information
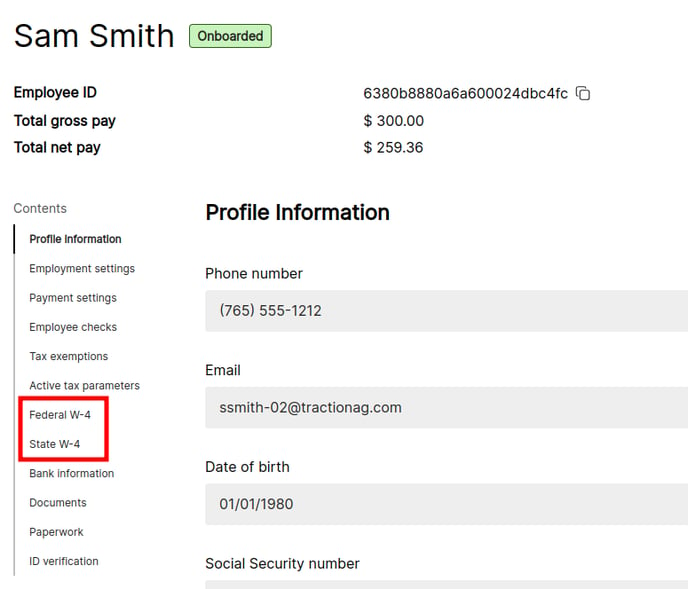
1. Open your Payroll Dashboard, click on People, find the Employee, click on the name of the Employee.

2. Click on the appropriate W-4 from the menu.
3. Select the appropriate year, click Edit, and make your adjustments.
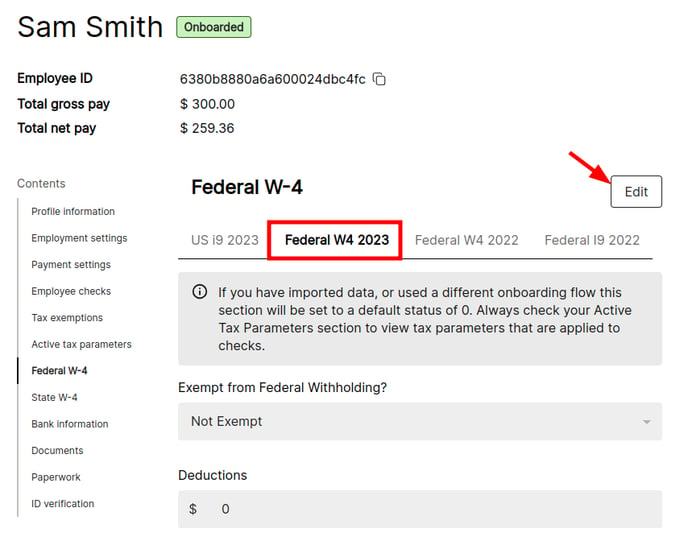
4. Review your changes and once everything is confirm, click Submit at the bottom of the screen.
