Contacts are an important piece of data inside your Traction account. Below is a table of the different Categories you can assign to Contacts.
A Contact can belong to one or more categories.
| Vendor | Each Vendor will show up as an option as a Contact for Payment transactions |
| Customer | Each Customer will show up as an option as a Contact for Deposit transactions |
| Employee | Each Employee will show up as an option to setup and onboard as a Payroll Employee |
| Field Worker | Used to designate a Contact as a Field Worker |
| Landlord | Used to designate a Contact as a Landlord and include in Land Agreements |
| Entity |
Each Entity is also made into a contact This field cannot be edited |
| Owner |
Each Owner of an Entity is also made into a contact This field cannot be edited |
| Other |
Used for contacts that don't fit into other categories or you would like to flag |
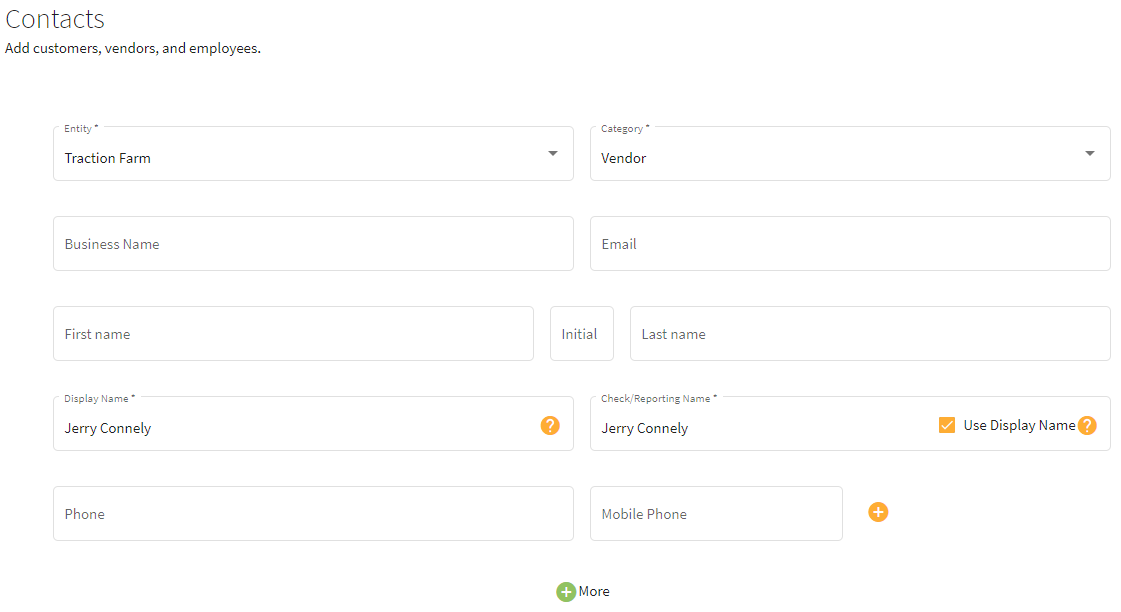
| 1. Expand the Accounting menu in the left menu by clicking on the down arrow. |  |
| 2. Select Contacts to add and update contacts. |  |
| 3. Click on the box labeled Add Contact and you will be directed to the contact details screen. | 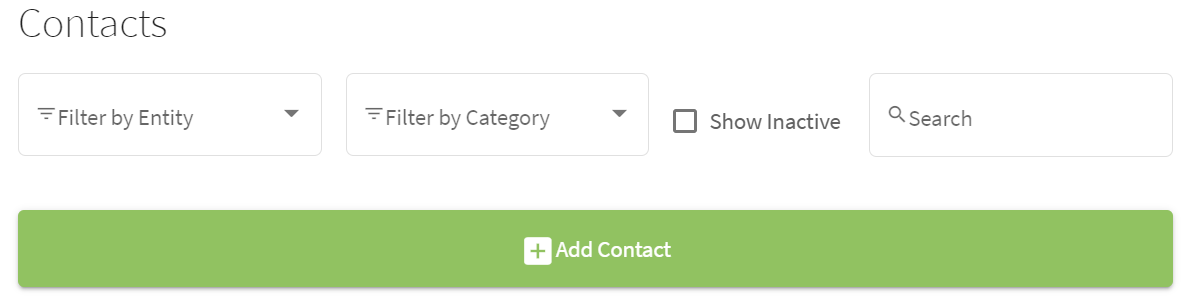 |
|
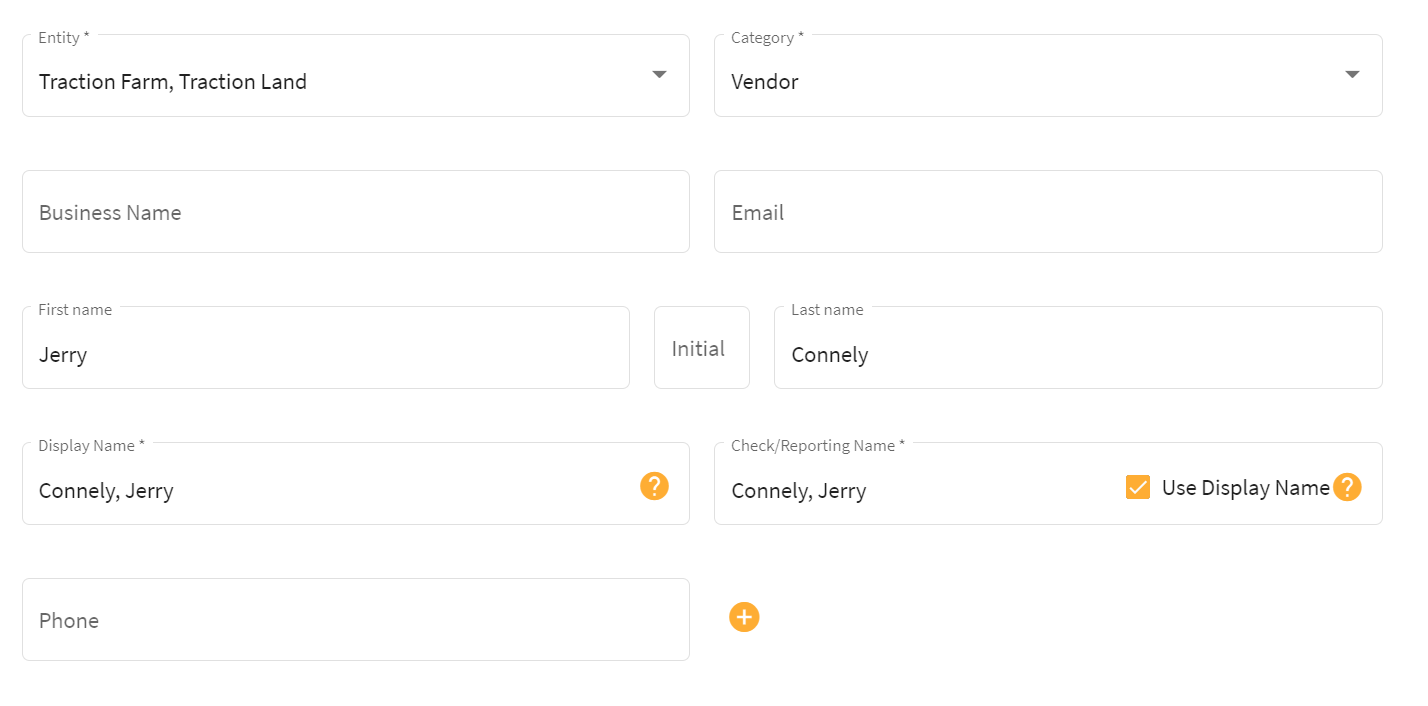
4. Choose the Entities and the proper Category/Categories for this Contact. Notes and considerations: Make sure you are selecting the proper category for your contact. |
|