How do I handle double crops?
This article explains how to handle double crops in your Traction Account.
📝 If you are looking for information on how to handle your cover crops, please read our KB article on this topic.
Adding More than One Crop Zone per Field in a Crop Year
There are two ways to access Manage Crop Years:
1. Select Crop Years from the Field Ops tab.

OR
2. Navigate to Farms and Fields, selecting Manage Crop Years for the Grower who's fields you want to assign.

You will see a listing of the Fields, along with the current filter selection.

![]() Adjust your Filtered Grower, Farm, and Fields
Adjust your Filtered Grower, Farm, and Fields
You can adjust your filter to a particular Grower, Farm, or Fields by clicking the Filter tree icon, making your selection, and clicking Apply.
Adding a Crop Zone
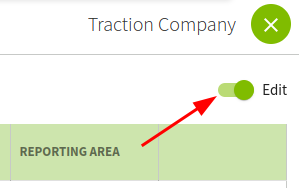
Enable Edit mode by clicking the toggle.

Select the Harvest Product you would like to assign. The Field's Zone name, In Production status, and Labels will automatically be populated. You can make any adjustments to these fields.

Adding an Additional Crop Zone
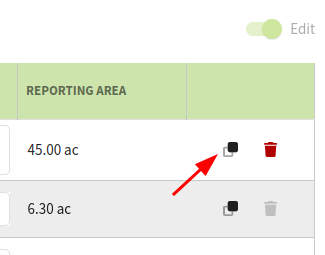
Click the Additional Crop Zone icon to add another entry for this field.

Repeat the assignment process by adding another Harvest Product and updating any details. For any Harvest Product not in production, you will want to toggle off the In Production status.
The Crop Zone(s) with In Production enabled will have all data from your John Deere Operations Center or Climate FieldView integrations applied to it. If multiple Crop Zones are marked as In Production for the same field, duplicate records will appear in your Import Queue.
