How do I create and print an invoice for a customer or landlord?
This article explains how to create and print invoices for customers.
NOTE: Creating invoices for landowners using field records was released July 11, 2022. Please look at this KB article for a closer look on how to do this.
| 1. Using the navigation menu on the left of your screen, open the Accounting menu and then select Invoices. |
|
| 2. If you have already created invoices they will appear on the screen. Click on the + New Invoice button to create an invoice. | 
|
| 3. Select the Entity and the Customer for the invoice. If you have an address entered in the contact details it will appear. You are also able to choose if you would like to Use Logo. Click on the Next button when finished. | 
|
| 4. Enter your Invoice Info into the form and click on the Next button. | 
|
| 5. Create a sale item, choose the desired account, and add the details. Select a product and enter the details. You do not have to include both an Other and Product for an invoice. When you have entered all of the information click on the Next button. | 
|
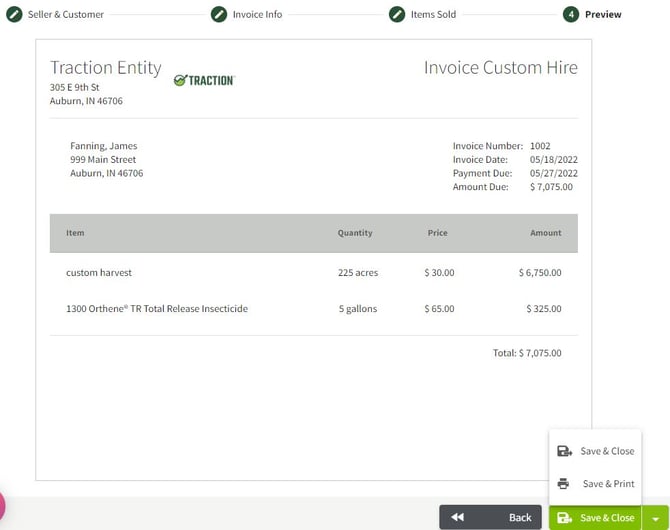
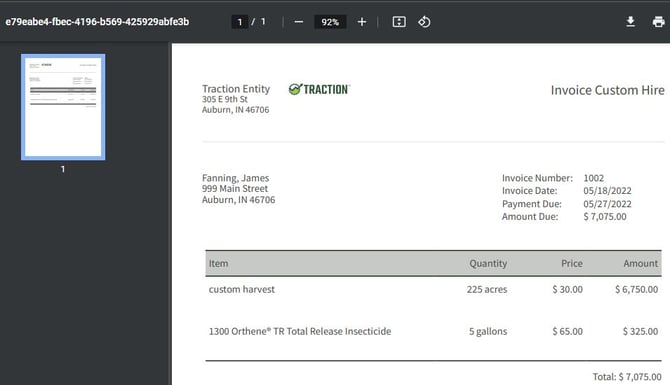
| 6. The Preview screen will appear so you can edit the invoice before saving. Click on the Save & Close button to record the invoice. If you would like to print the invoice, click on the arrow to the right of Save & Close and select Save & Print. If you select the Save & Print option, a print preview tab will open where you can download or print the invoice. | 
|
|
7. The invoice has been added to the main Invoices screen. The colors indicate when the invoice are due. Red - overdue Yellow - due within 7 days Green - Greater than 7 days before due Click on the arrow to the right of the invoice to view the details. Click on the three dots to Edit, Print, or Receive Payment for the invoice. |

|


