How do I create a Fertility Recommendation?
This article will demonstrate how to create a fertility recommendation.
Fertility recommendations can only be exported with a paid subscription to Traction Agronomy. For more information contact us at 1-888-305-3839
| 1. From the Traction dashboard, click on Agronomy. | 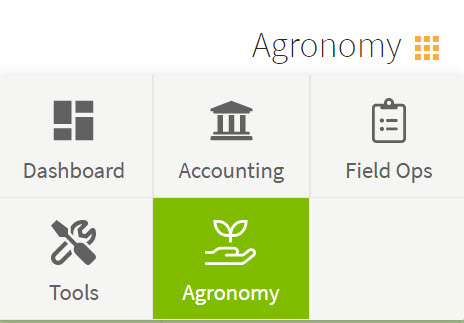 |
|
2. From the main menu on the left side of your screen, choose the Sample Events option. In the Results column you will see the Sample Events that have results back from the lab. These events will be marked with a green circle and check mark.
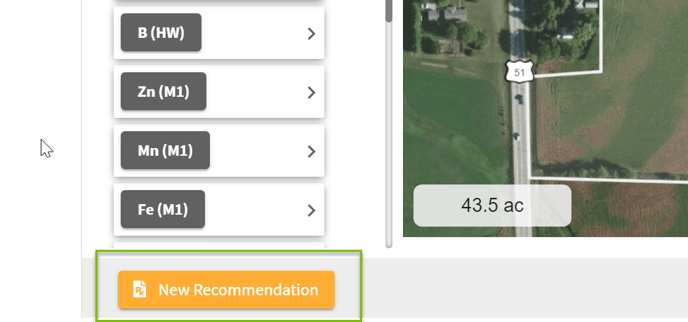
Click on the Sample Event with results to open the Sample Event Details Screen. In the lower left corner of the screen, you will see the New Recommendation box. |
 |
|
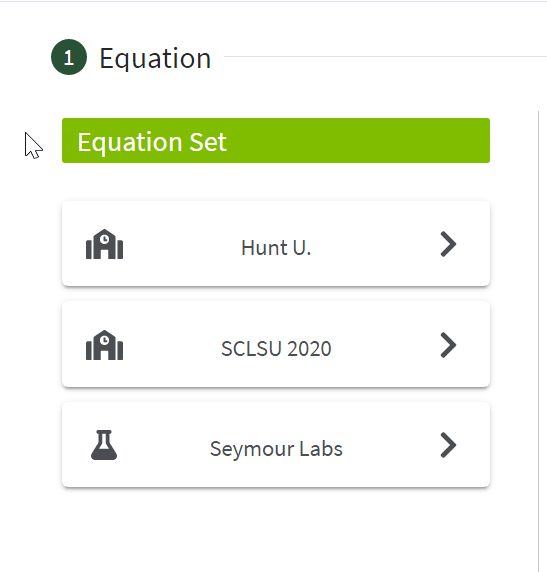
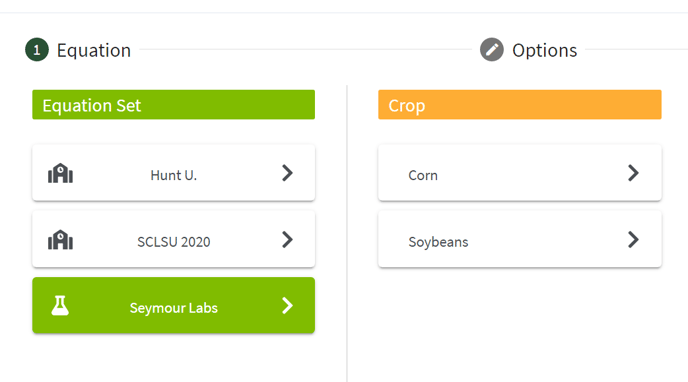
3. Click on the New Recommendation button to open the New Recommendation dialog.
|
 |
|
 |
|
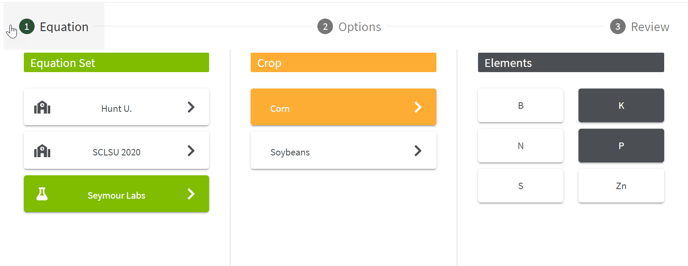 |
| 4. You will be asked to edit the Equation. The edits you will need to make will vary by equation. Any user defined variables in the equation, such as Yield Goal in this example, can be edited or you can stay with the default showing on the screen. Next choose the Products that you want to fulfill the nutrients needed. The list that appears are any products that you have as favorites along with a prepopulated list of products. If you don't see the product that you need, you can click on the +New Product in the upper right corner of the Products box and add a New Product. Once your edits are complete, the Next box will turn green. Click Next. | 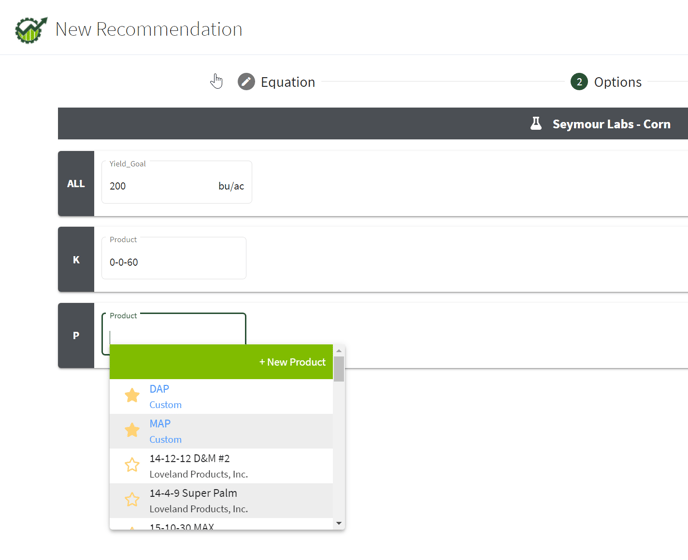 |
|
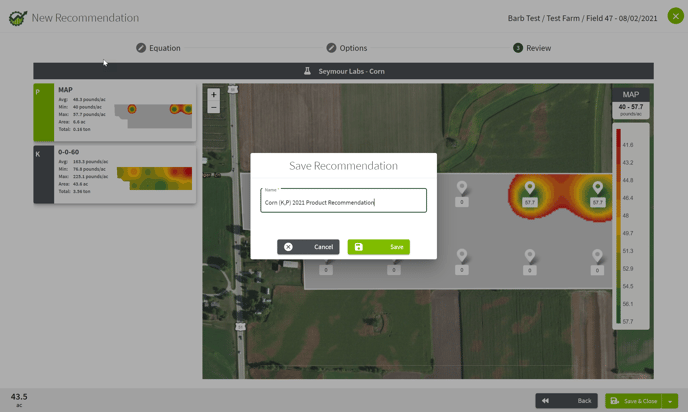
5. The Recommendation is generated and you will see the maps and summary of the recommendation. If you are happy with the recommendation -
If you want to make additional changes to the recommendation you can choose the Back option in the lower right corner and go back to make changes. |
 |
|
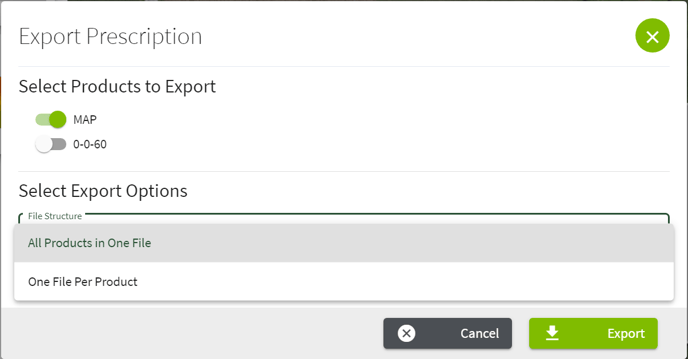
6. From the Recommendations in the Main Menu to the left of your screen, click on the Recommendation in the list to see the Recommendation Detail View. To the lower right of your screen, you now have options to Export Rx or Share. When you choose Export Rx -
|
|
|
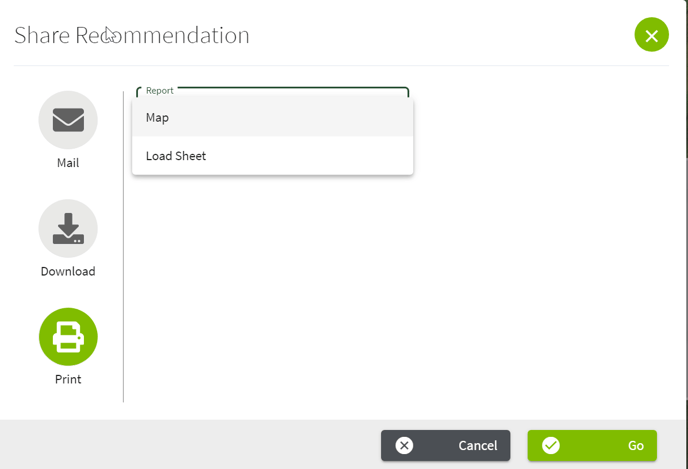
7. If you choose Share, the Print option will let you print out your Load sheet and a Map of the Recommendation. Once you have made your selection, choose Go to get the report. |
 |