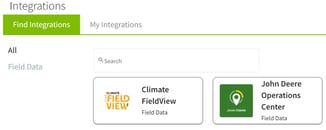
How do I connect my Climate FieldView account to Traction?
This article explains how to connect your Climate FieldView account to Traction.
WARNING:
- If you have field names already in Traction, Customer Success can help you with the correct connection strategy, call 888-466-6080.
- Before connecting your account, please verify that you have boundaries in Climate associated with your fields. You can add or edit the boundaries by following Climate FieldView's KB article.
- We encourage all customers to use this feature. With the release of job summary data import, this can save time and improve accuracy when entering your field records.
|
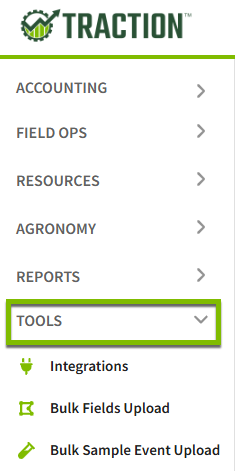
1. Using the navigation menu on the lefthand side, Click on Tools to open the dropdown options. |
|
|
2. Click on Integrations to find the Climate FieldView option. NOTE: Climate may not be visible until you contact Traction to enable this feature. |
|
| 3. Click on the Climate FieldView plugin and then the Connect button. You will be prompted to enter your credentials for Climate. | 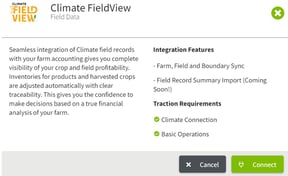
|
| 4. Next, a message will appear allowing access to your Climate account. Click on the Allow Access button. You will be redirected to Climate's website to confirm access for Traction. Click on the Save button to allow the connection. | 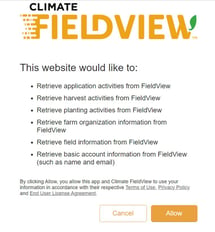
|
|
5. The Integration Setup screen will appear and allow you to make selections. Focus on your Start Date. It might default to the day you are connecting, so make sure to change it to the first day of your new year, such as 1/1/2022. |

|
|
6. You will now see a green checkmark in the top right corner indicating it is connected. Note: It will take 20+ minutes for you to see your fields, farms and boundaries in Traction the first time you connect. |
 |
|
7. See the KB article on how to import your field records from Climate FieldView. |
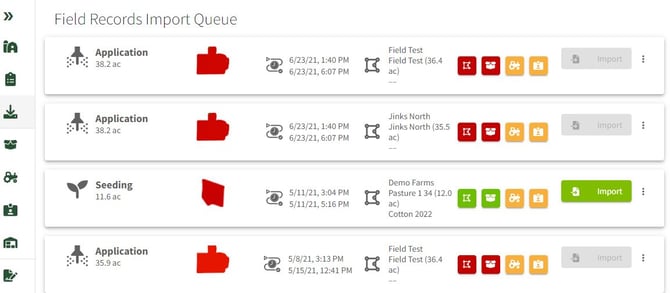 |
Note: It can take up to 24-48 hours for field records to appear in the Import Queue.

