The Traction Field app is now available in the App Store. Please contact Traction at 1-888-305-3839 or success@tractionag.com for more information.
| 1. From the Home screen, simply tap on the Go to "Farms/ Fields" to add your first Field area on the screen. From here we can add a grower, a farm, or a field. | 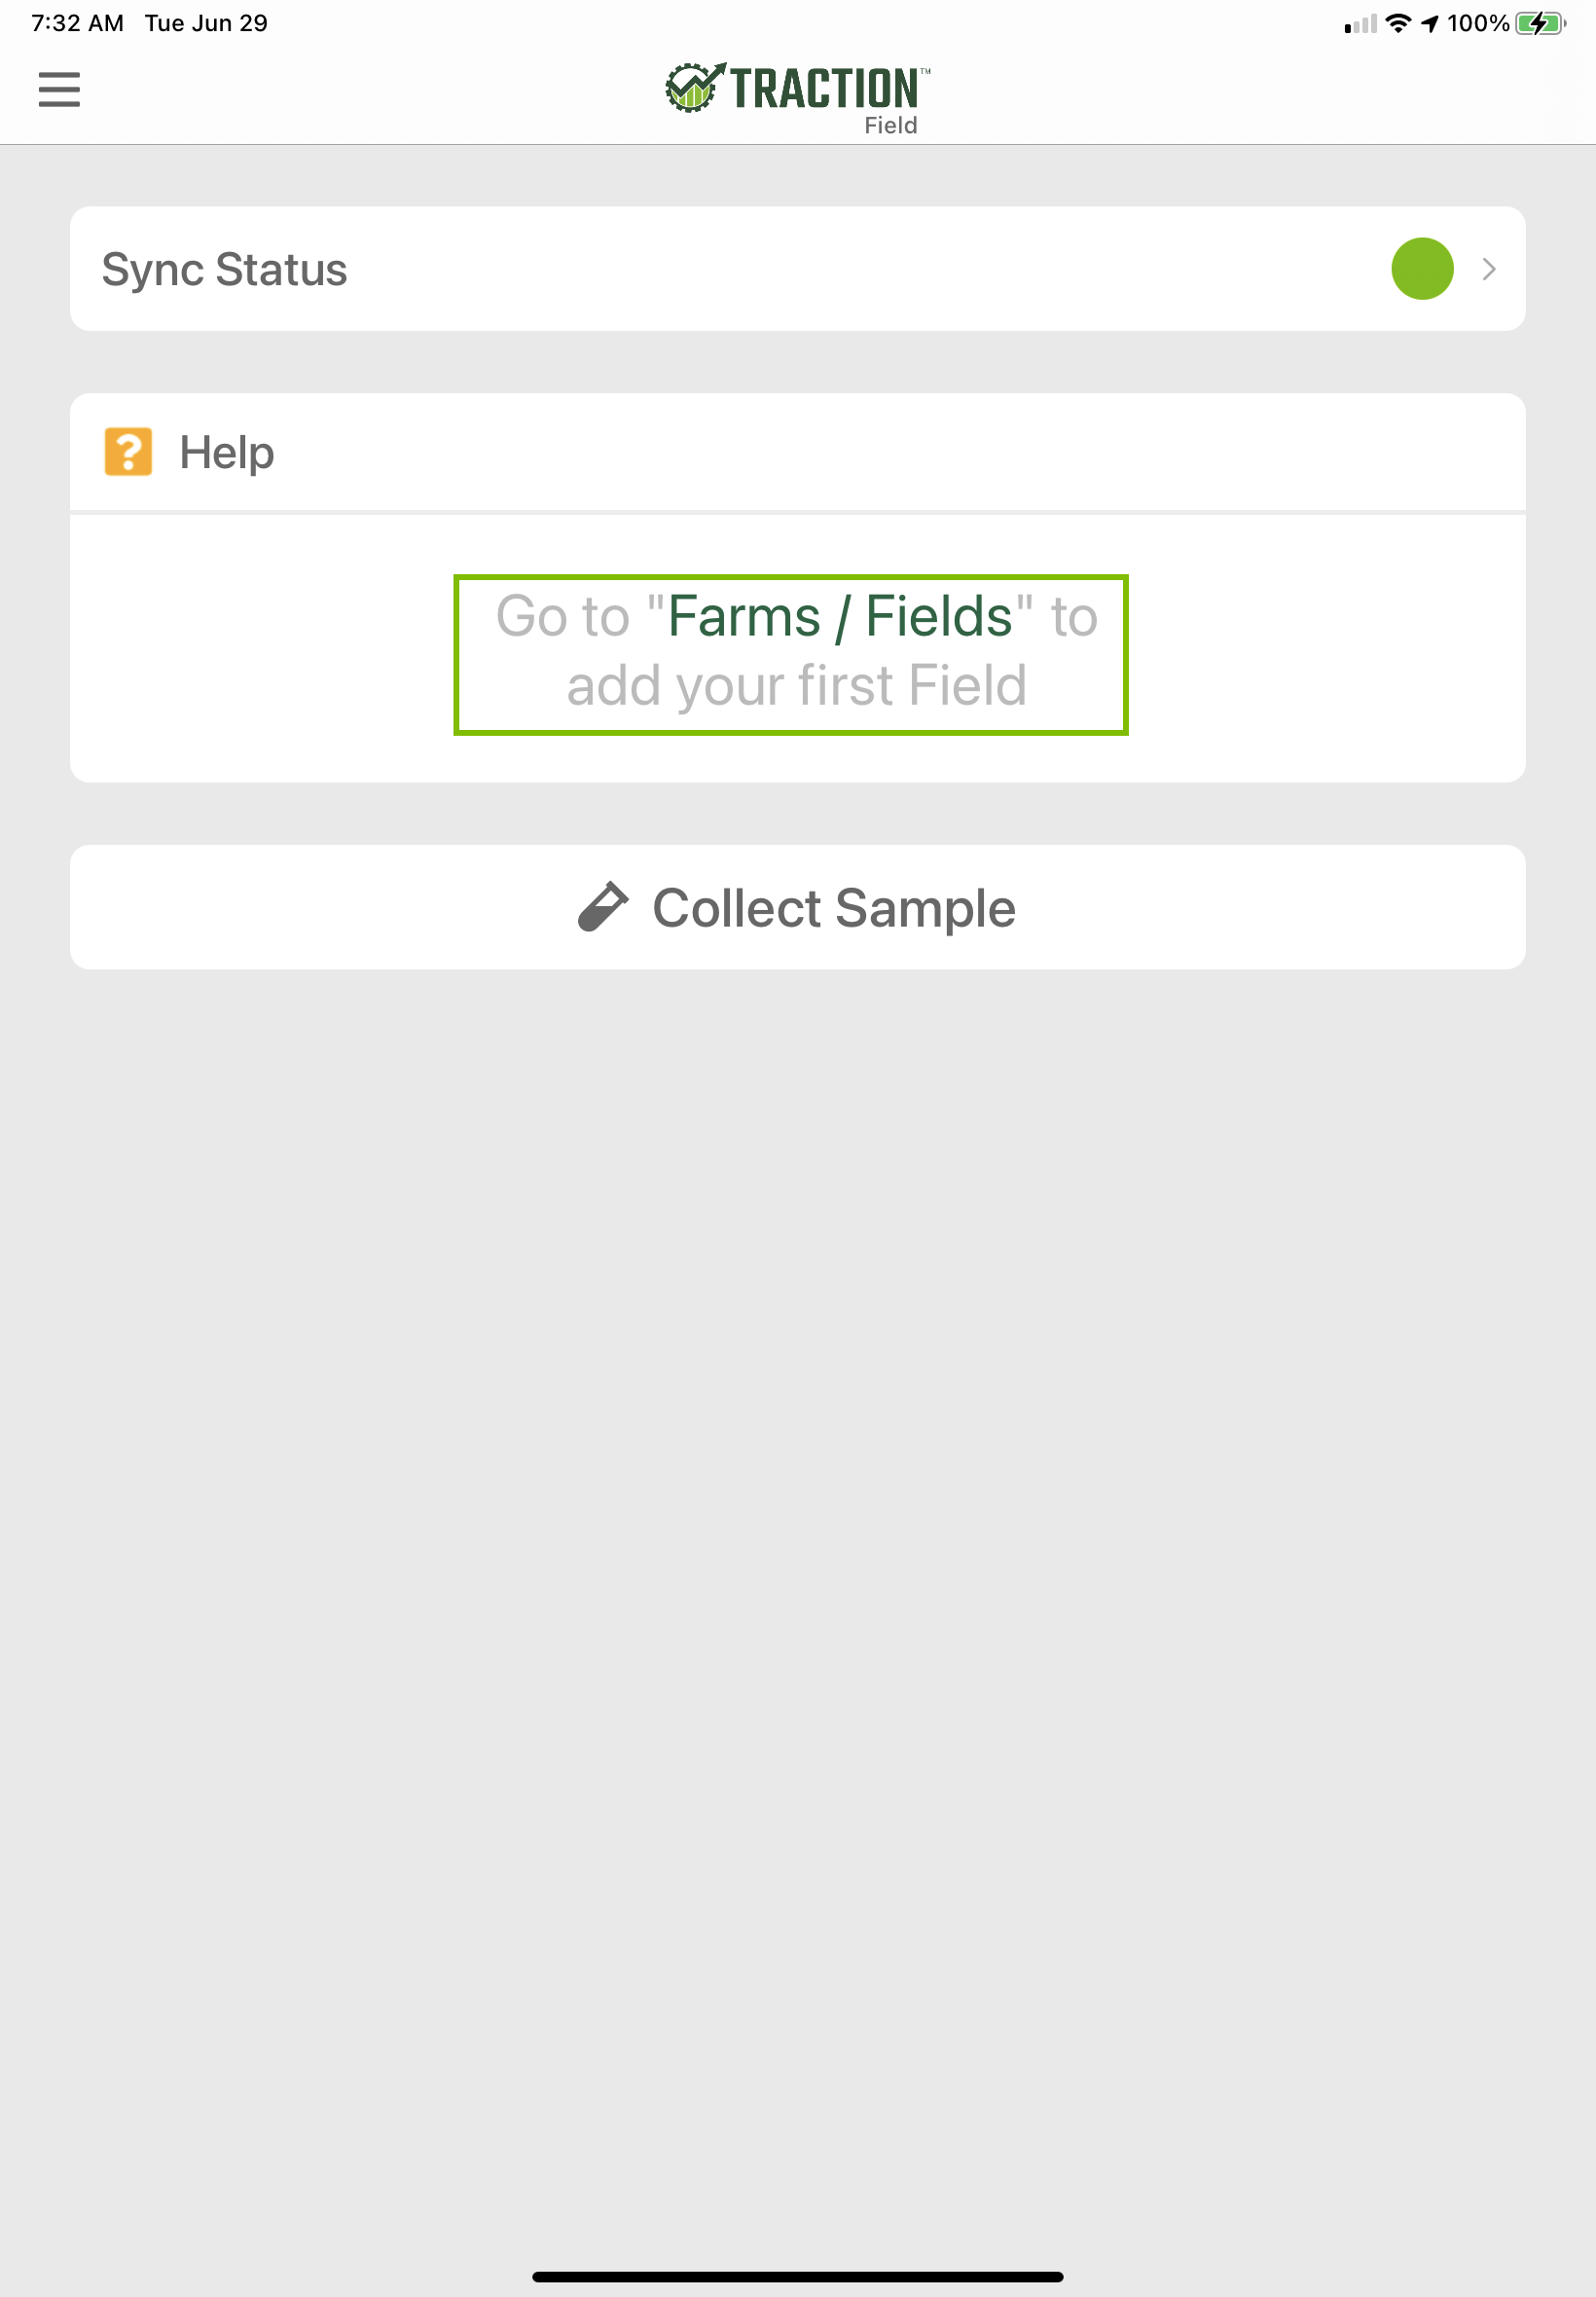 |
| 2. We will start by adding a Grower. Tap on the + icon at the bottom of the screen. The New Grower dialog box will open. | 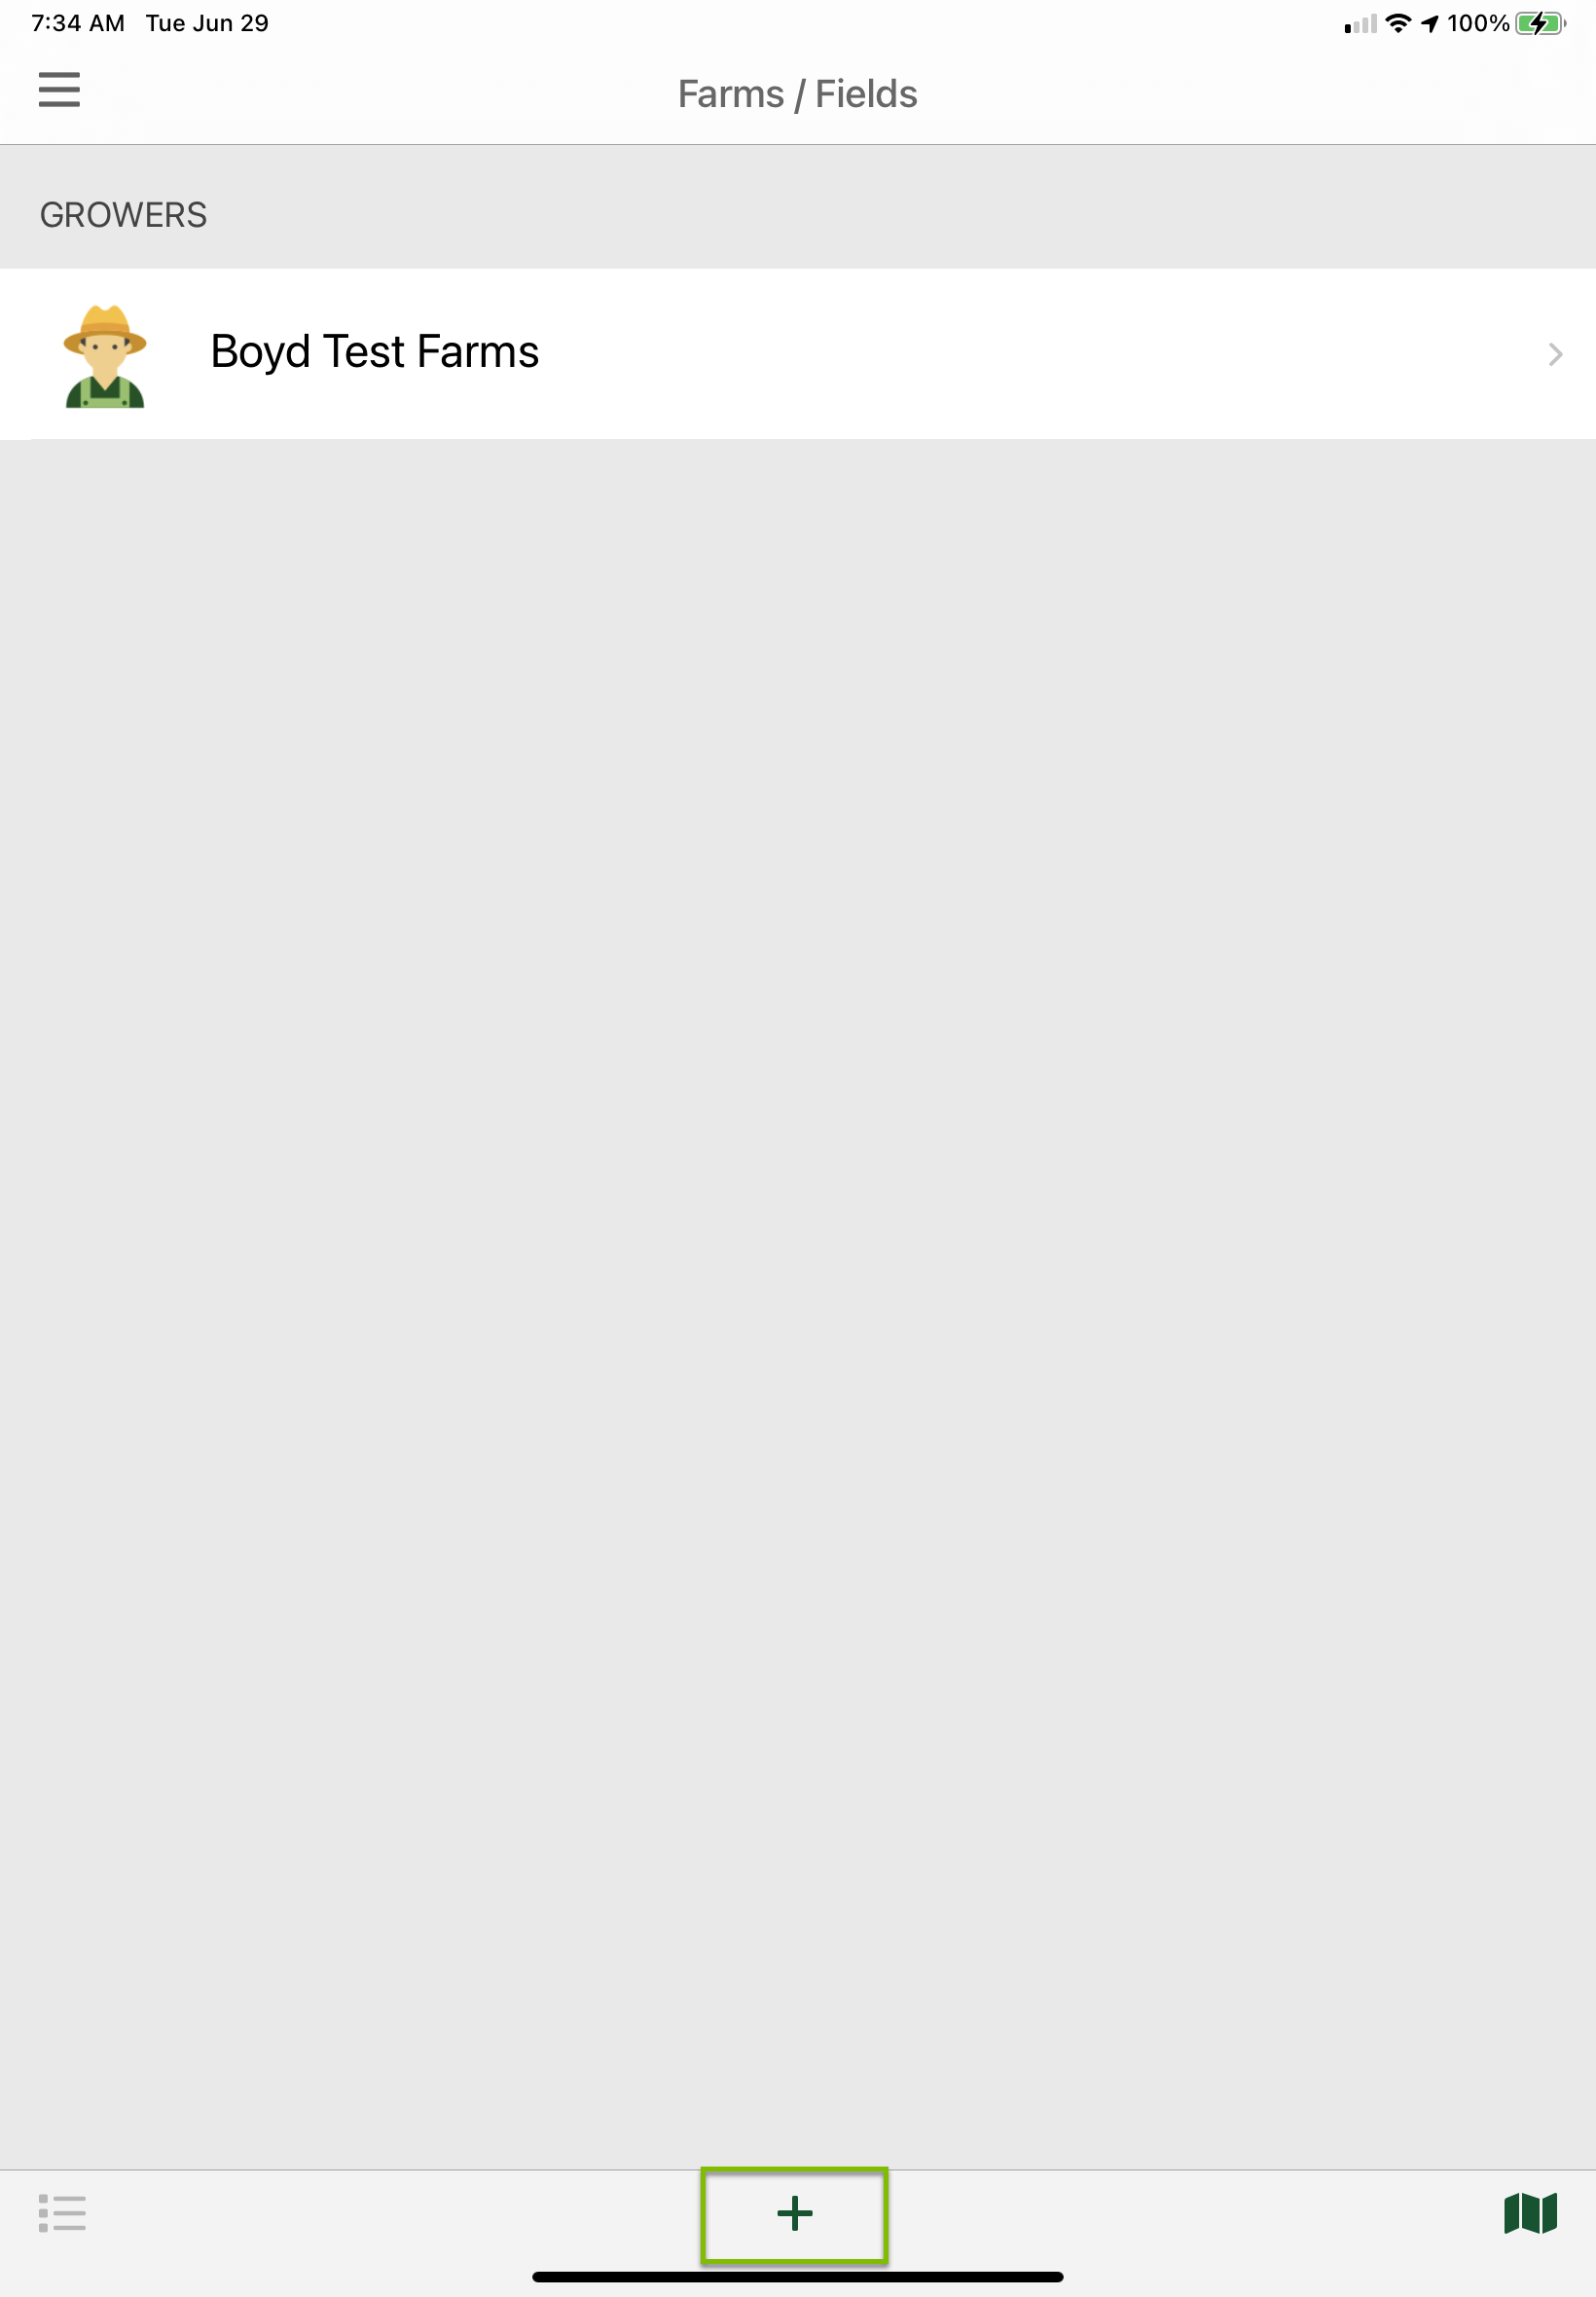 |
|
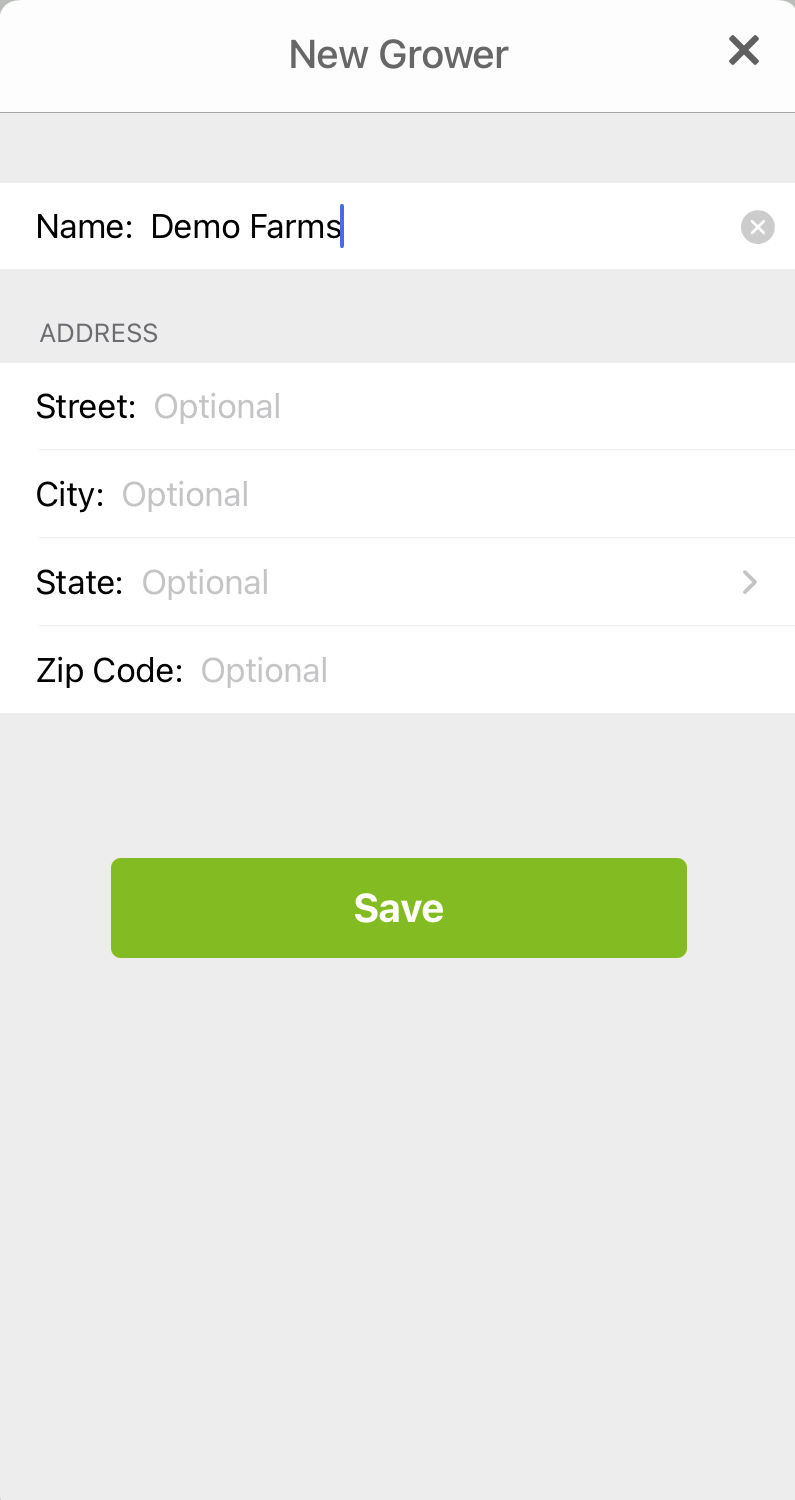
3. From the New Grower dialog box, begin entering the necessary information. Only the Name field is required, but you can also enter Street, City, State, and Zip Code as additional information. Tap the green Save box to complete. The app will now show the new grower in your Growers list.
**Note for Basic Agronomy users you will want to enter the grower that you have in Traction Agronomy, this may be your name. |
 |
|
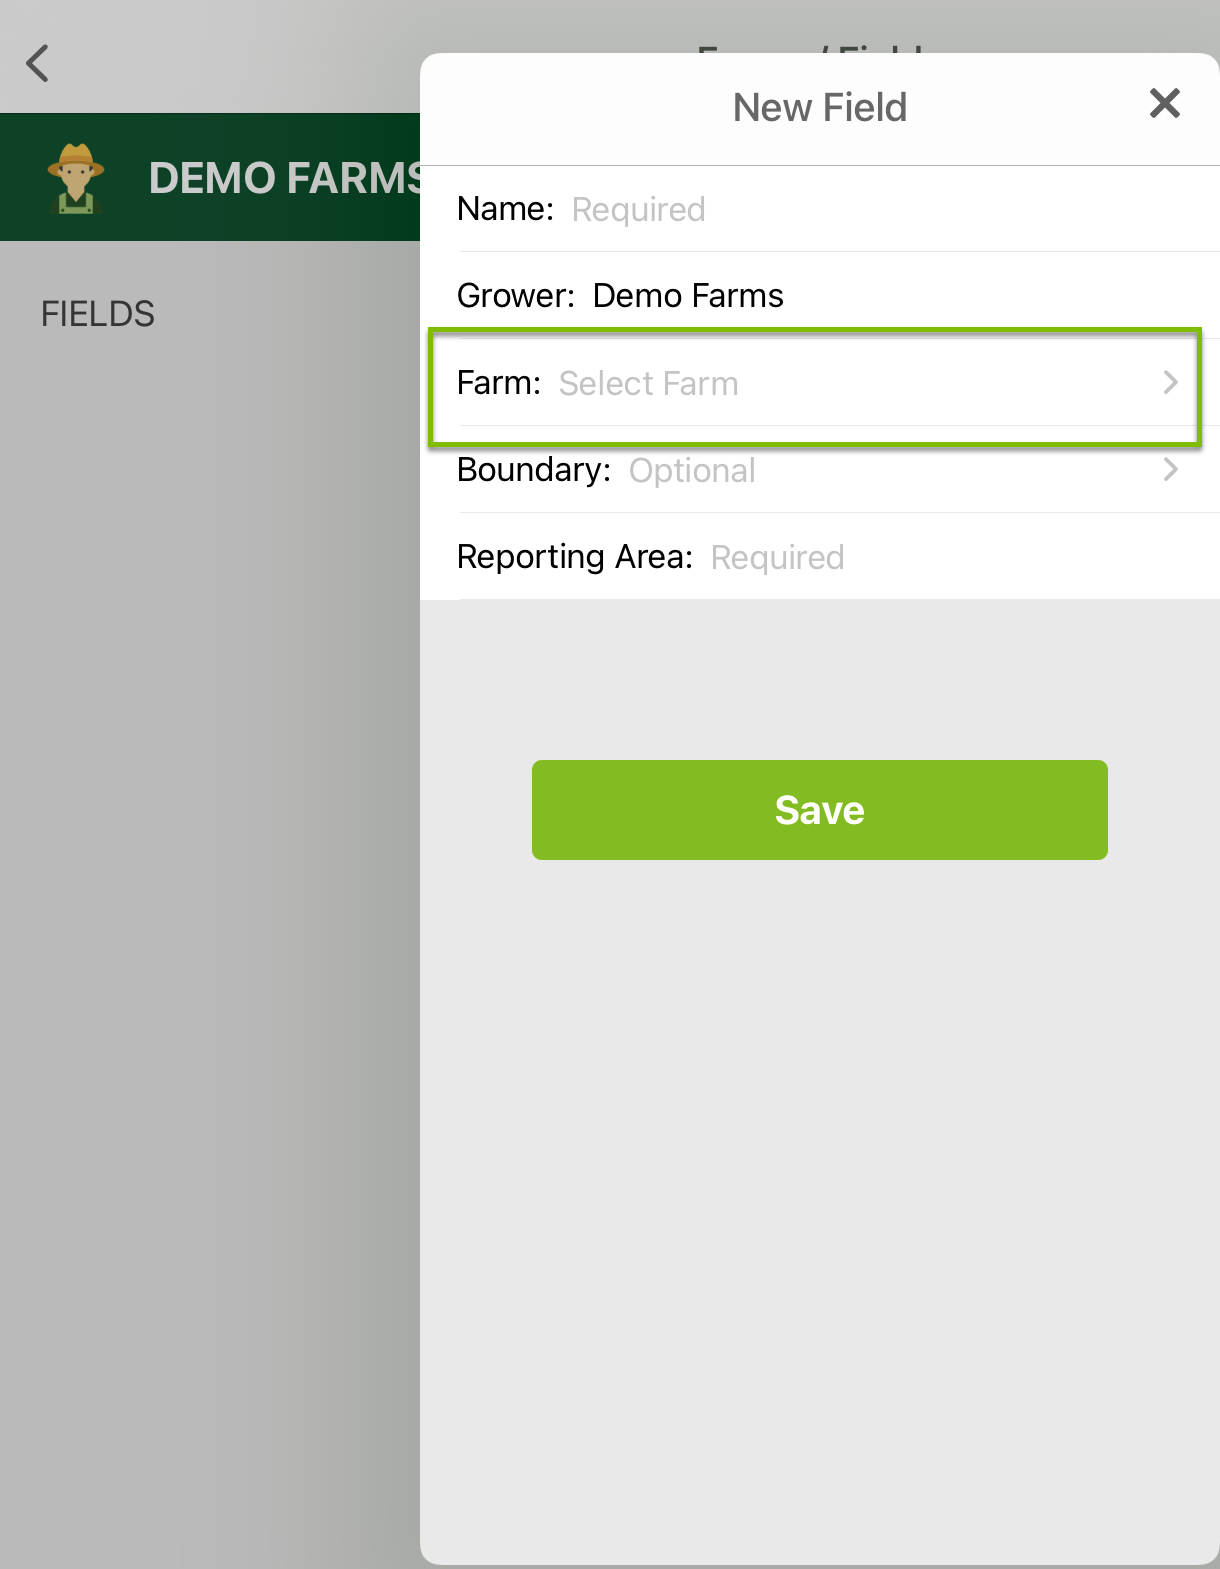
4. To add a farm, tap on the grower in the Growers list this will open the Farms / Fields screen. Tap on the + at the bottom of the screen. This is how we begin to add a field as well, but once the New Field dialog box opens we can tap on the Farm area in the dialog box to open the Select Farm dialog box. **Note when entering a Grower/Farm/Field name try to avoid special characters where possible, including decimals or periods. |
 |
| 5. Tap on the + New Farm in the Select Farm dialog box to add a new farm. |  |
| 6. In the New Farm dialog box enter the name of the new farm and tap on the green Save box. This will add the new farm to your Farms list. Repeat steps 5 & 6 as needed for additional farms. Once you have completed entering the farms as needed, tap on the < arrow in the New Farm area to go back to the New Field dialog box. | 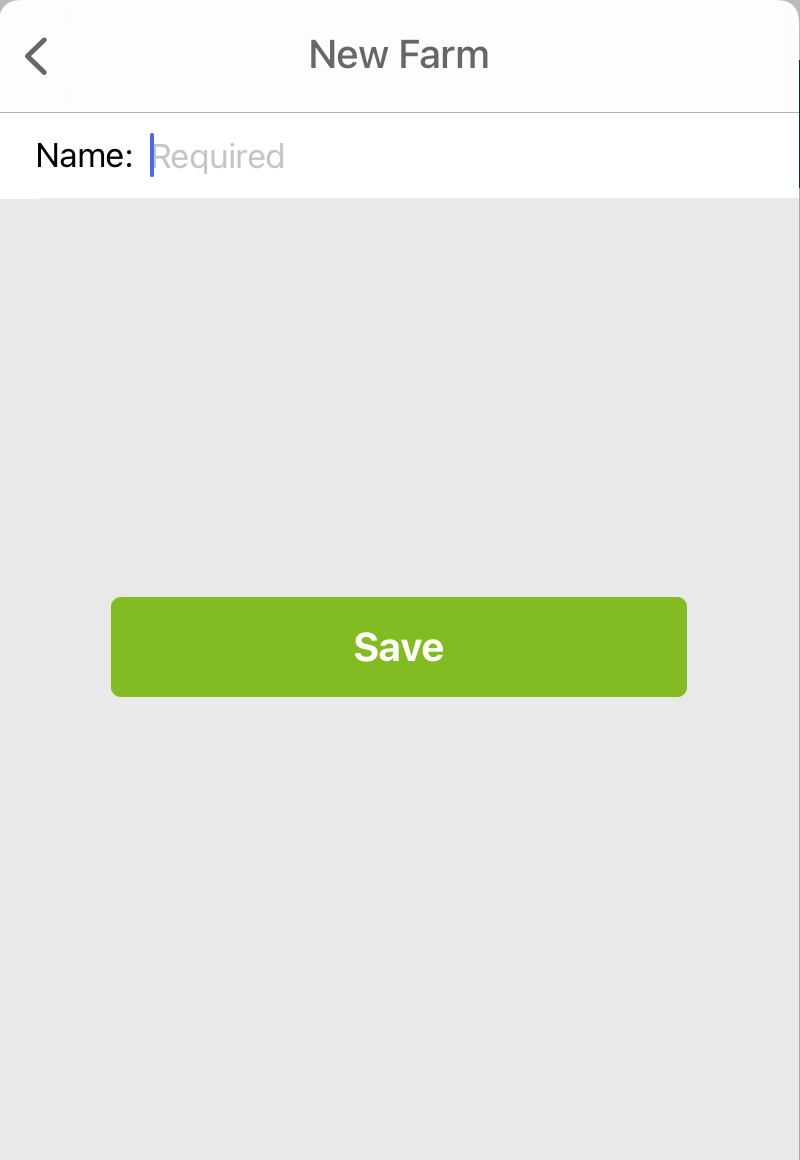 |
| 7. Once back in the New Field dialog box, fill in the information as needed. Enter the Name for the field. Grower name will auto populate. If you have multiple farms in your farm list, you will need to select the farm to associate by tapping the > arrow and tapping on the appropriate farm. That farm will then display in the Farm area. If you are ready to log the boundary for the field you can tap on the Boundary area to begin logging the boundary (we will cover this topic in more detail in How do I create a new boundary). Finally, enter the Reporting Area, as this is a required entry . Tap on the green Save box to save and exit. | 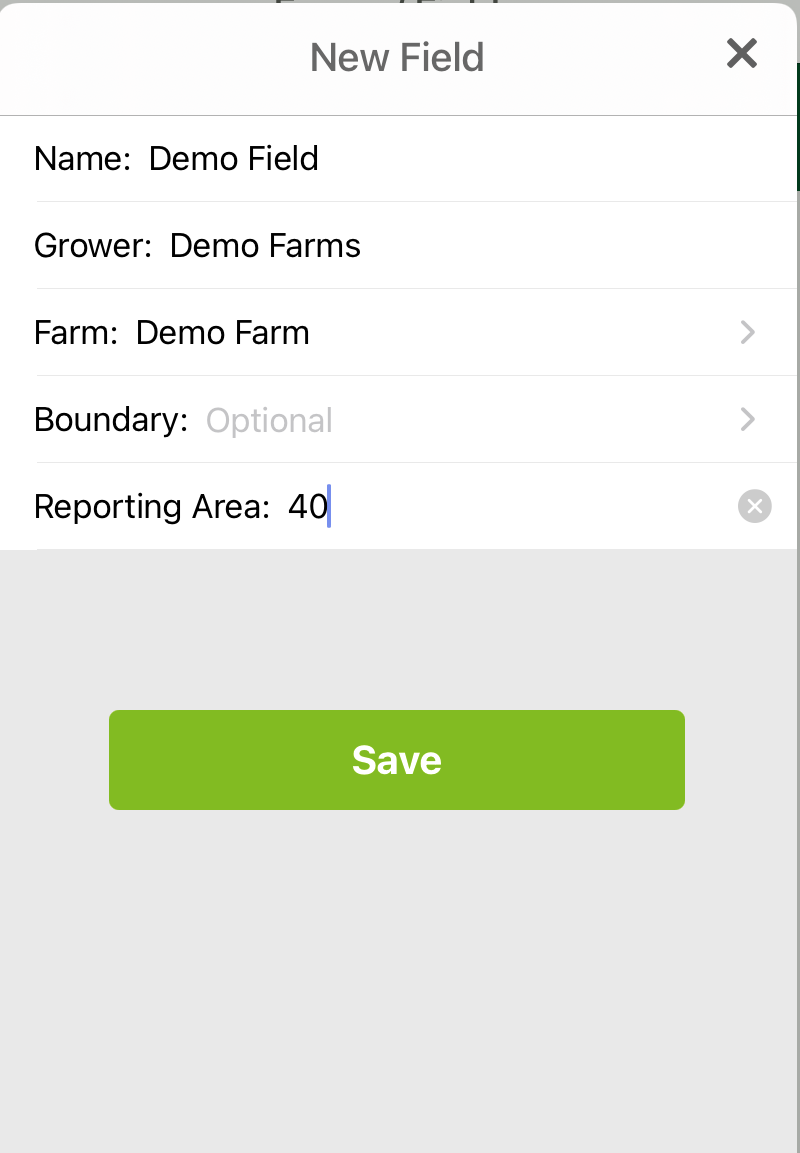 |
| 8. When you tap Save, if you did not do anything in the Boundary area of the New Field dialog box, a message will pop up during the Save function. This message will ask if you would like to Log Boundary, you will be able to proceed with logging a boundary around the field, or Save without a boundary, and in this case Traction Field will save the field in your fields list and you can come back to the field and log the boundary at your convenience. | 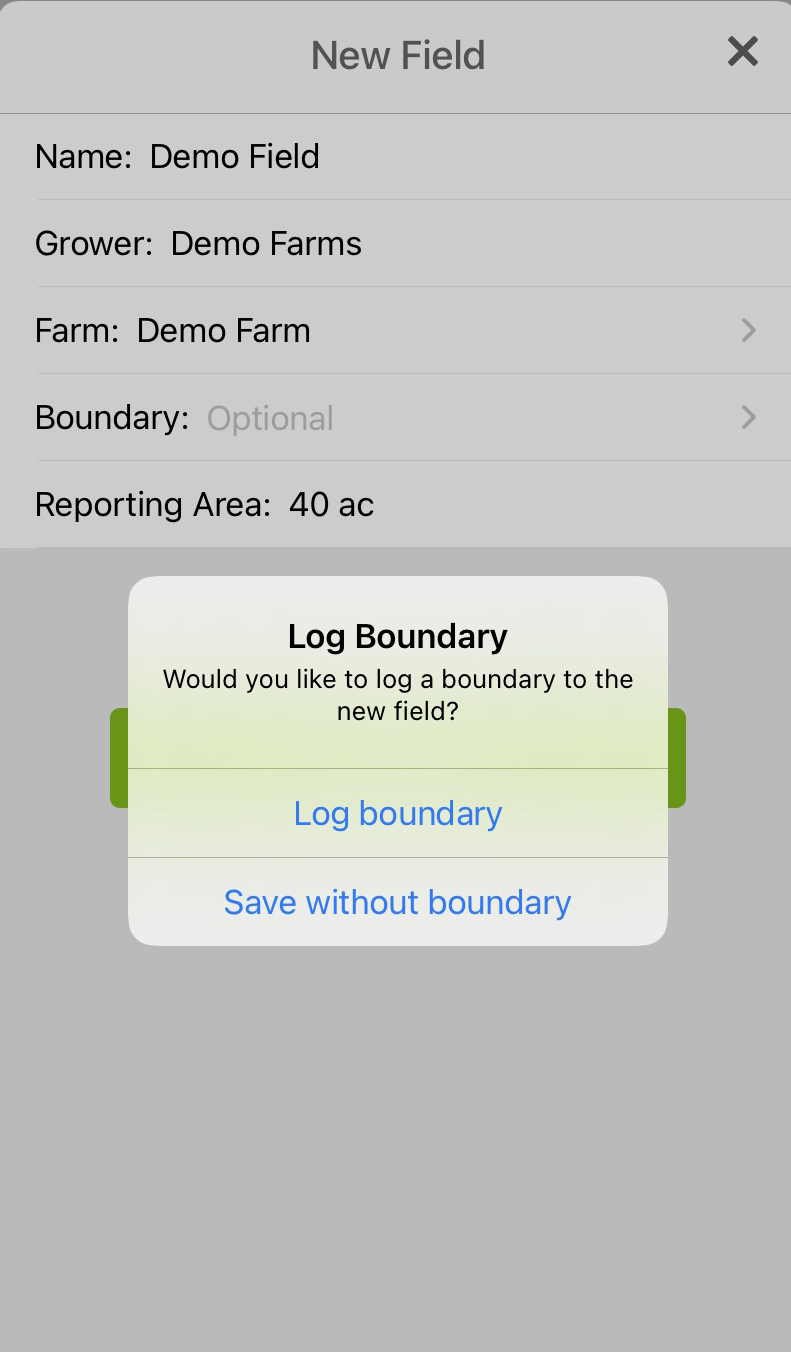 |