Table of Contents
Note: Check printing functions best if you are using Google Chrome browser on your computer.
Print a Single Check
|
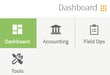
1. Click on the Dashboard icon at the top right of your screen. Select Accounting and then choose Account Register. |
 |
| 2. Select the account that you wish to write the check from. Click on the Add New button and select Add New Payment. | 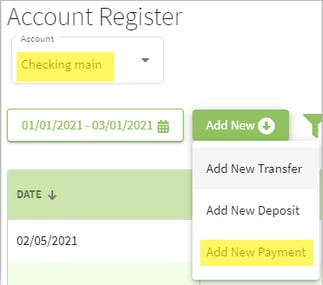 |
|
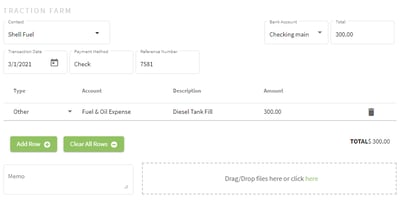
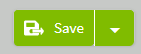
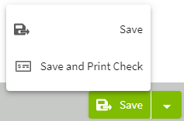
3. Fill in the details for the payment and then click on the arrow to the right of the Save button. Select Save and Print Check and fill in the desired Check Printing Options. Note: The first time you attempt to print a check use plain printer paper. Compare this sample to your Nelco check and make adjustments in the Check Printing Options screen. Once any adjustments are made, click on the Print button to print the check.
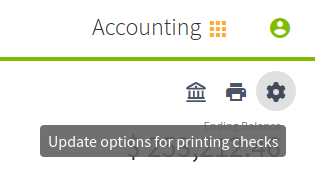
If you ever need to update your Check Printing Options, but selected Do not show again, you can access the same settings from the Account Register by clicking the Gear icon. |
|
|
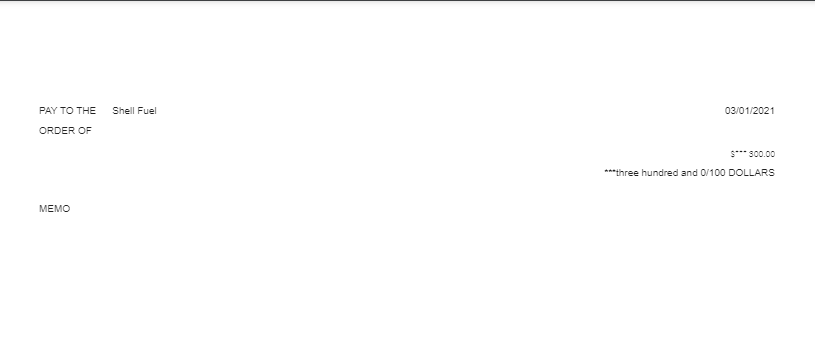
Note: If your pop-up blocker is turned on, you may not see a print preview. 4. A preview screen will appear that will allow you to download a copy of the check or print. If you are satisfied with the information and layout of the check, click on the Print icon in the top right corner of the screen. |
|
| 5. The option screen for your printer will appear. Select your settings and click on the Print button. Next, close the preview tab to return to Traction. | 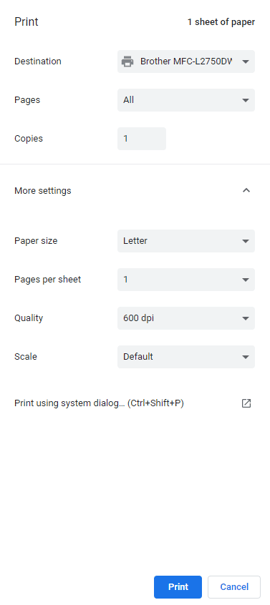 |
| 6. The transaction has been recorded in the Account Register. |  |

Print a Batch of Checks
Create a new transaction and select Add to batch from the check printing option.

After you add a transaction to your batch, the Batch Printing icon will have the corresponding number of transactions listed.
Continue to add transactions you want to print to the batch.
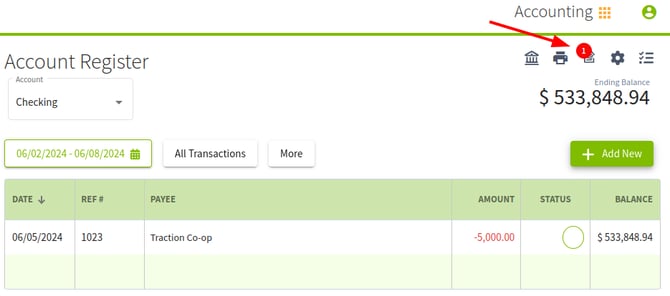
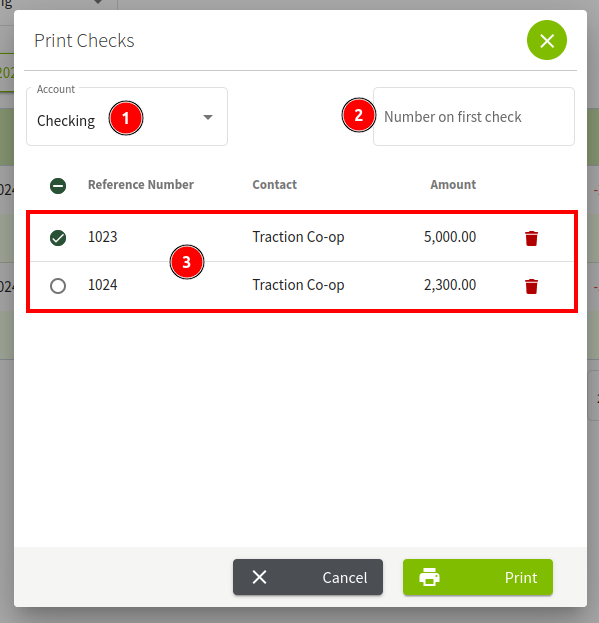
Once all of the transactions have been printed, click the Batch Printing icon to launch the Print Checks modal.
1. The current account that is selected.
2. To ensure that your blank checks match the reference numbers listed, you can enter the number of the first check here.
3. The list of transactions included in the batch.
To print, simply click the selection circle and then click Print.
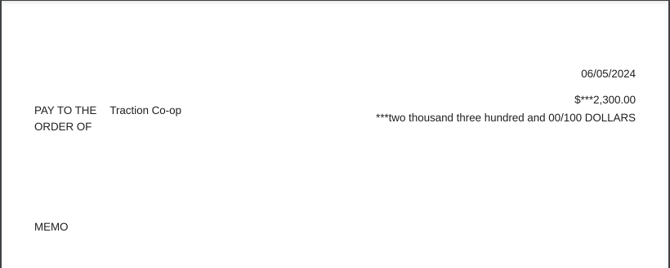
A PDF of your checks will open in a new tab, allowing you to both save and print.
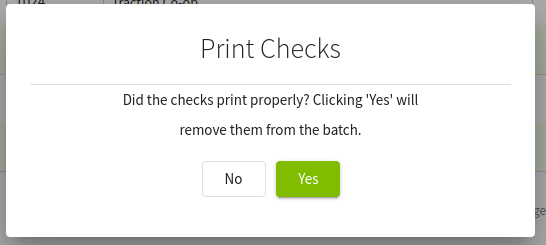
In your Account Register, you will be asked if the checks printed properly. As the warning states, if you click Yes, the queued transactions will be cleared from the batch. If you answer No, they will remain, allowing you to print again.
Troubleshooting: In the event that checks are not printing in the correct order
Ensure that individual printing settings are not marked with "Print from Last Page" to guarentee checks print in the intended order. Please reach out to our Customer Success Team if you need assistance.