-
Getting Started
-
Advanced Accounting
-
Basic Accounting
-
Basic Operations
-
Basic Agronomy
-
Contacts
-
Farm Works
-
FAQ
-
Payroll
-
Professional Agronomy
-
Traction App
-
Traction Field
-
Release Notes
-
Enterprise - Mobile
-
Enterprise: Setup
- Enterprise: Import Settings
- Enterprise: Crops
- Enterprise: People
- Enterprise: Inputs
- Enterprise: Entities
- Enterprise: Integrations
- Enterprise: Equipment
- Enterprise: Fields > Fields
- Enterprise: Inventory Locations
- Enterprise: Land Agreements
- Enterprise: Fields > Field Groups
- Enterprise: Ficial Accounts
-
Enterprise: Crops
-
Enterprise: Operations
-
Enterprise: Reports
-
Enterprise: Getting Started
-
Enterprise: Dashboard
-
Enterprise: Inputs
-
Enterprise: Webinars & Live Training
-
Enterprise: Videos
How do I draw a field boundary?
This article will demonstrate how to manually draw your field boundaries using Traction.
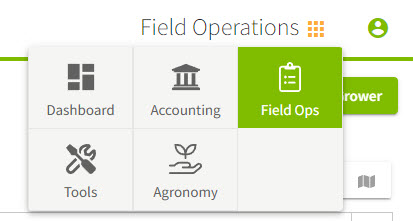
1. Click on the Dashboard icon and select Field Ops. | ![]() |
2. Click on your Grower name and select View Details. Fill in your Address information for the grower and click on the Save & Close button. | ![]() |
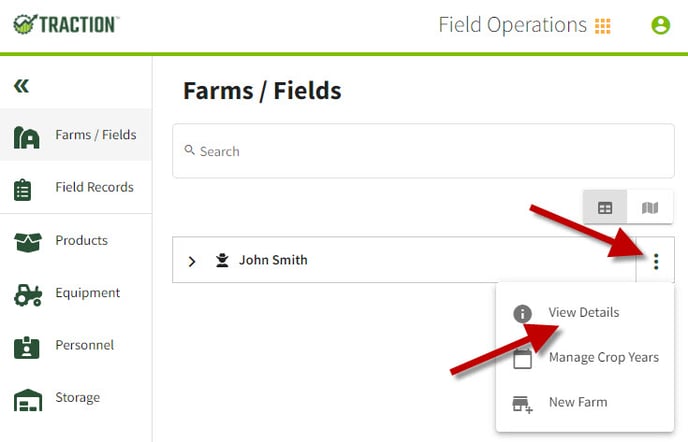
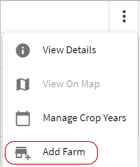
3. Click on the ![]() |
|
4. Click on the ![]() |
![]() |
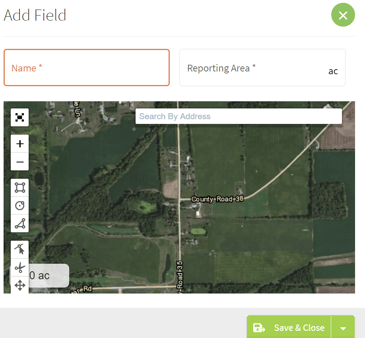
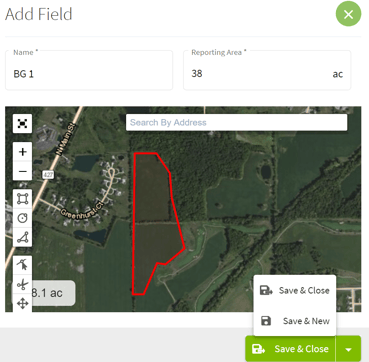
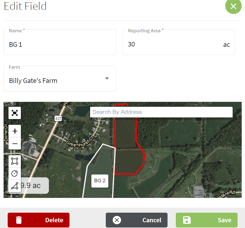
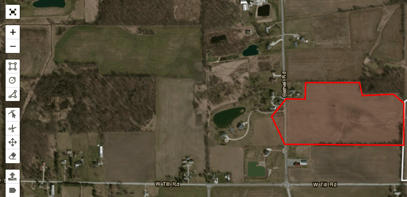
5. Fill-in the Name and select one of the tools on the left of the map. I am going to use the polygon tool![]() |
![]() |
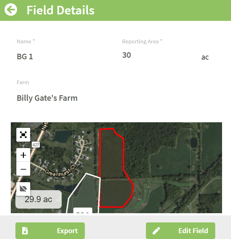
6. Click on the ![]() |
|
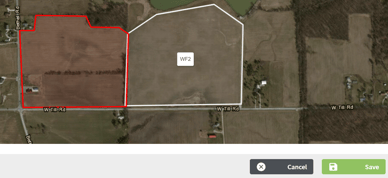
7. To delete the boundaries for a field click on the ![]() ![]() |
|