How do I draw a field boundary?

This article will demonstrate how to manually draw your field boundaries using Traction.


1.  Click on the Dashboard icon and select Field Ops. Field_Ops_Button
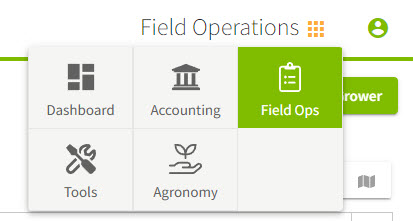
2.  Click on your Grower name and select View Details.  Fill in your Address information for the grower and click on the Save & Close button.
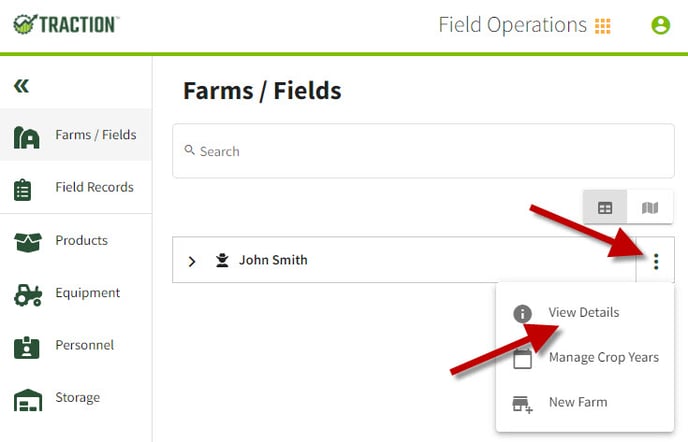
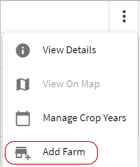
 Edit_Grower_Address_Info_2
3.  Click on the icon and select Add Farm and fill-in the name.  Click on Save & Close.


4.  Click on the icon in the farm name's row and select Add Field.  This will take you to the Add Field screen where you will draw your field boundaries.
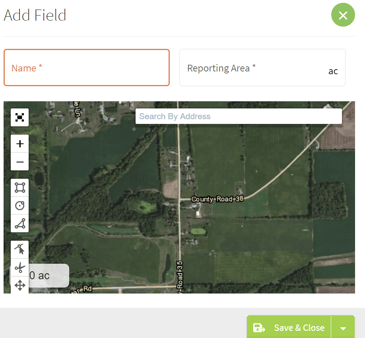
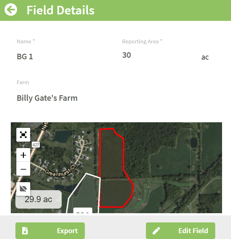
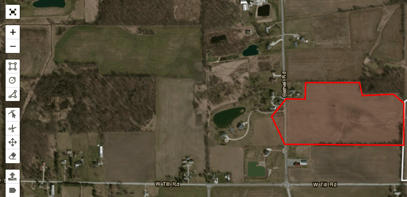
5.  Fill-in the Name and select one of the tools on the left of the map.  I am going to use the polygon tool
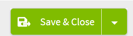
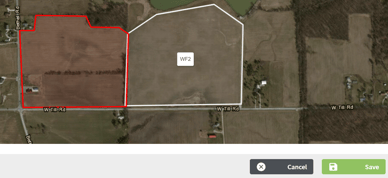
 .  You can zoom in or out to locate your field(s).  Click on the polygon tool and click on the corner of the field.  Continue this process and click on all corners until you arrive at the starting point.  To add more fields click on the arrow to the right of the Save & Close button and select Save & New.
6.  Click on the icon at the right of the field name row to view the details.  The Field Details screen will allow you to Export your field map or Edit the field boundaries.  You are able to rename, delete, and redraw the boundaries from this screen.


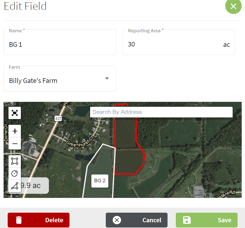
7.  To delete the boundaries for a field click on the icon and then on the field.  This will clear the boundaries and now you can redraw them with the tool.  Click on the Save button to keep your new boundaries.