Note: You must first have your Grower, Farm, and Field created in the Traction Field Ops module. Only fields with boundaries are available for selection.
| 1. Choose Agronomy in the menu. |  |
| 2. In the Agronomy Menu on the left side of the screen, click on Target Samples. Then click on the green box + New Target Samples in the upper right to add new target samples. |  |
| 3. When the Select Field dialog box appears choose your Grower, Farm, and Field from the drop down menus. Once you have done this the Next box will turn green. Click on Next. |  |
| 4. The field will display in Traction. Above the map you will see a box for you to enter a Name for your Target Samples layer. This is a required entry and you will not be able to save without an entry. | 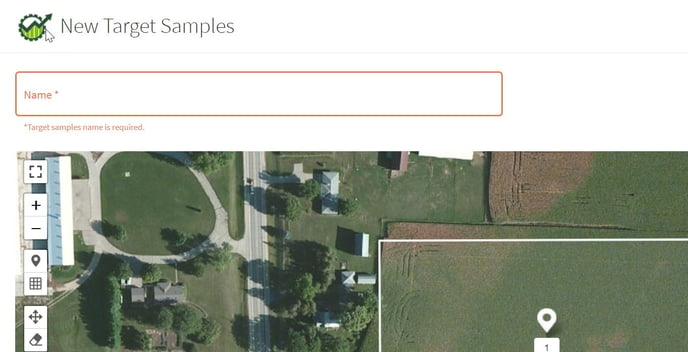 |
|
5. To the left are the sample and editing tools. Click on the Upload Shapefile tool.
Drag your zipped shapefile over into the box on the left where it indicates to Drag/Drop files here. The click here allows you to browse your computer for the file. The box on the right is where you will select your Sample ID Column from the drop down menu . Click on the green box to Apply. You will now see the layer on the map. Additional points can be added or points can be deleted if needed from here.
|
 |
|
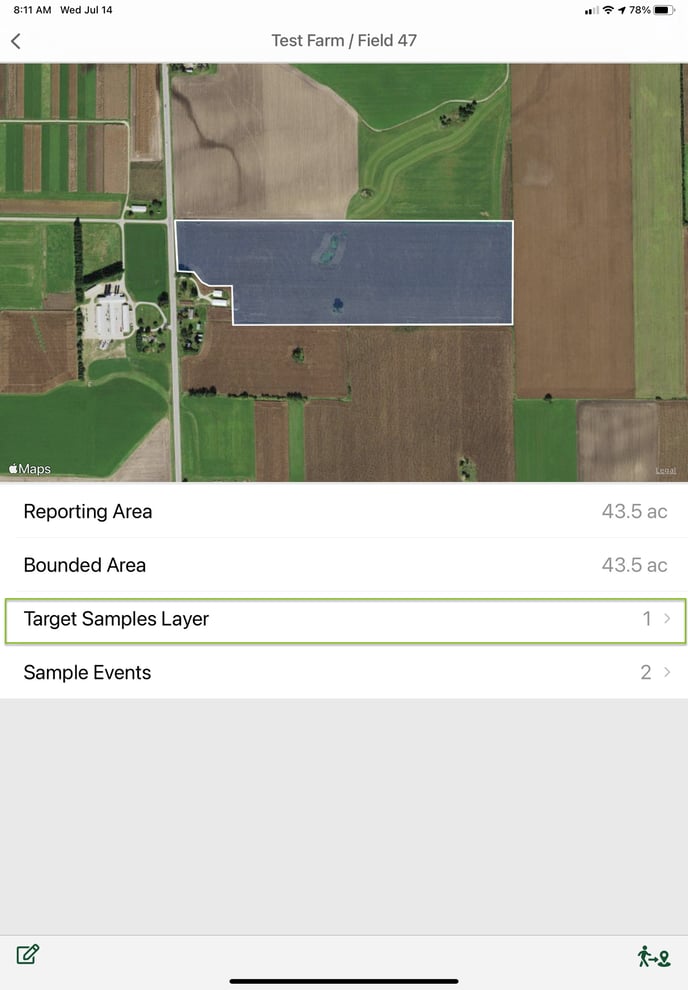
6. To see your Target Samples layer in Traction Field, choose Farms / Fields in the main menu. Choose Grower and then Field. There will now be a Target Samples Layer. |
 |
|
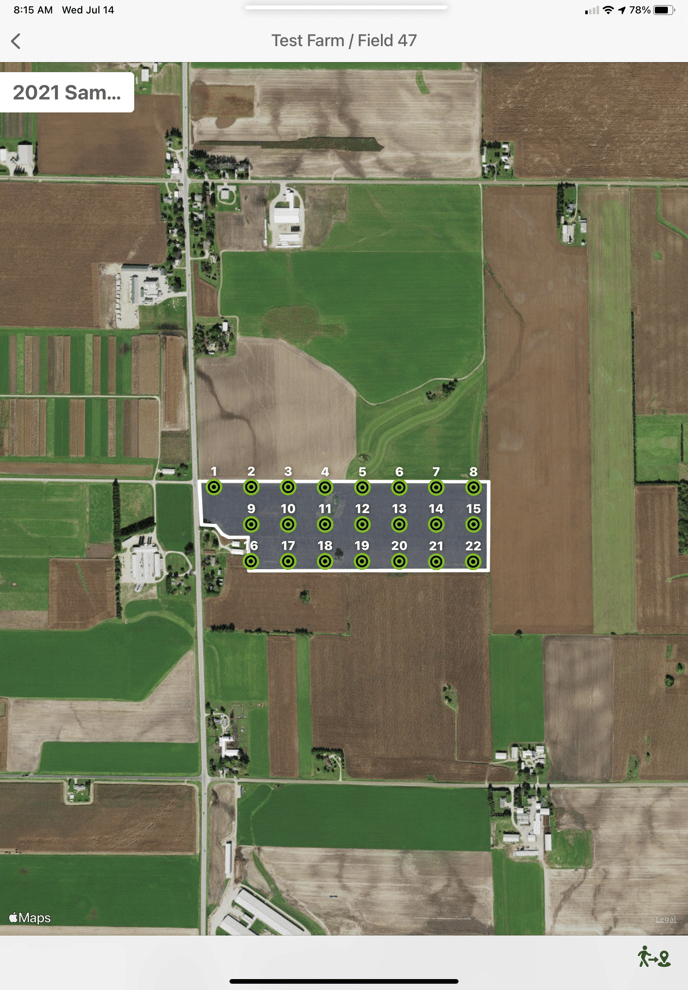
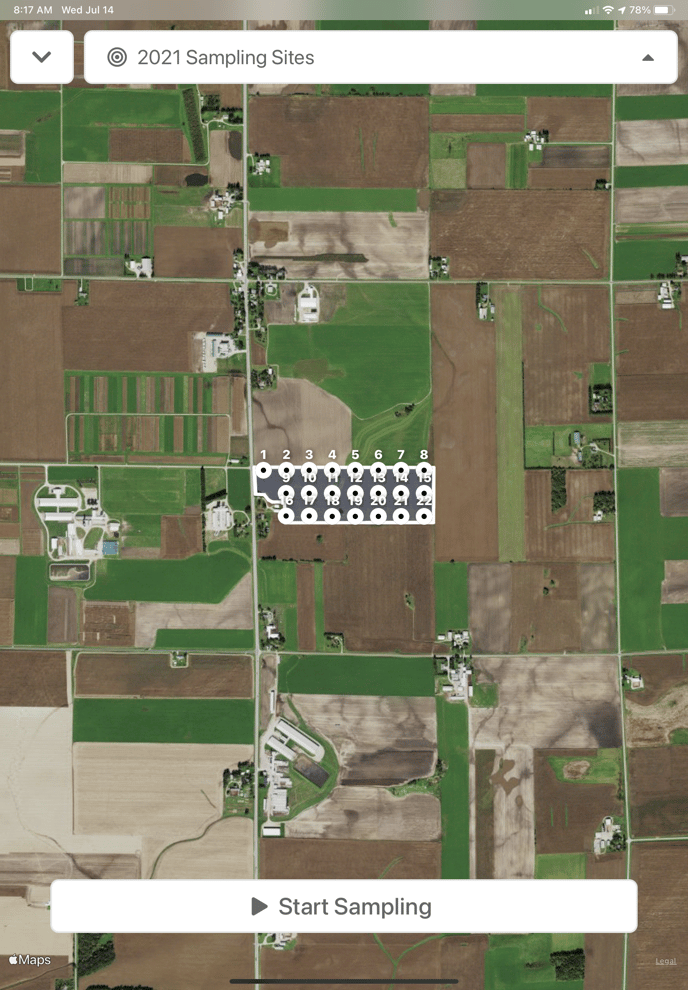
7. Click on Target Samples Layer, then click on the appropriate layer if there are multiple layers. This will open the Target Samples Layer, note the green sample points. |
 |
|
8. The Target Samples Layer is not able to be sampled or receive soil test results, but this layer can easily be turned into a Sampling Event. In the lower right corner, click on the Sampling icon.
To the right, see the Sampling Event.
|
 |