How do I create a Sample Event in Basic Agronomy?
This article will describe how to create a Sample Event in Basic Agronomy.
Note: You must first have your Grower, Farm, and Field created in the Traction Field Ops module. Only fields with boundaries are available for selection.
| 1. In your Traction dashboard, click on Agronomy. | 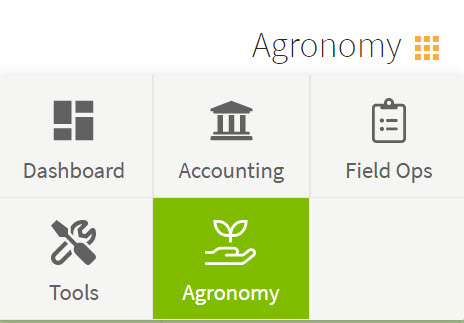 |
| 2. On the left side of your screen, click on Sample Events in the menu. Then on the upper right side of your screen, click on the green box +New Sample Event. | 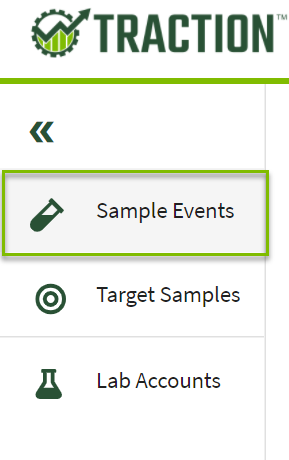
|
| 3. In the Select Field dialog, use the drop downs to select your Grower, Farm, and Field for the field you want to sample. Note: Only fields with boundaries will appear in the drop downs. Once you have selected the field, the Next box will turn Green. Click Next. | 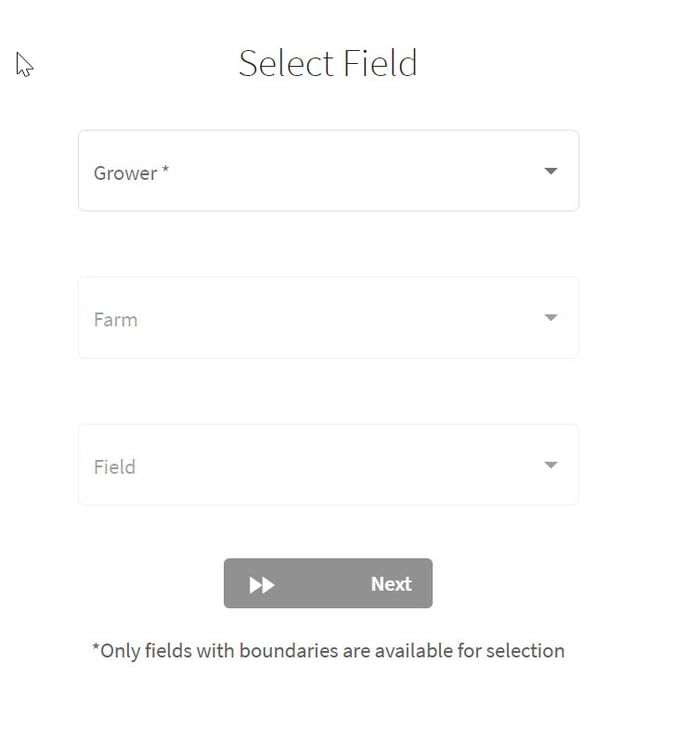 |
|
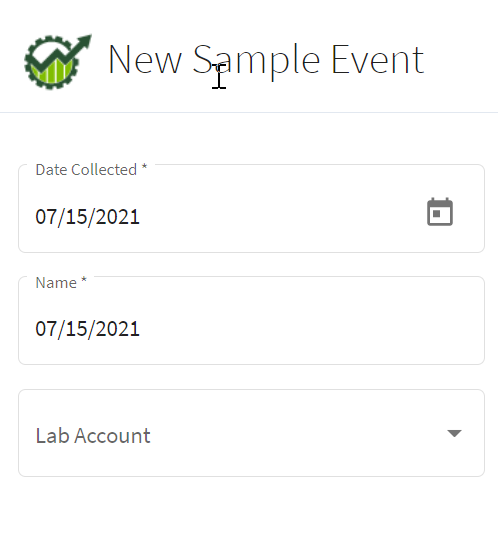
4. Over on the left of your screen you will see areas to enter -
|
 |
|
Let's discuss the tools that are available for creating the layer.
Full screen / Exit full screen - expands and reduces the imaged area. (You can also press esc to exit the full screen.)
Zoom tools, + to zoom in and - to zoom out.
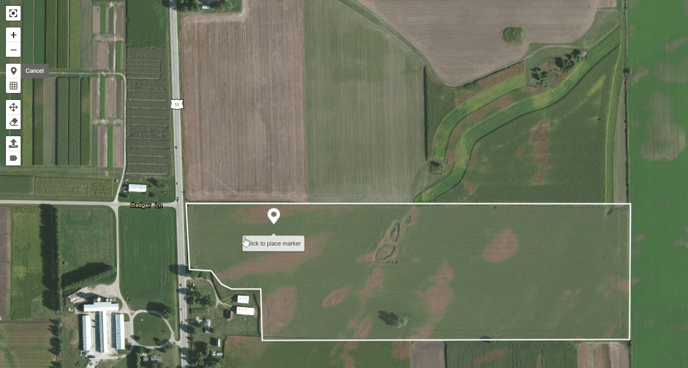
Draw Marker - manually place sample points in the field |
|
|
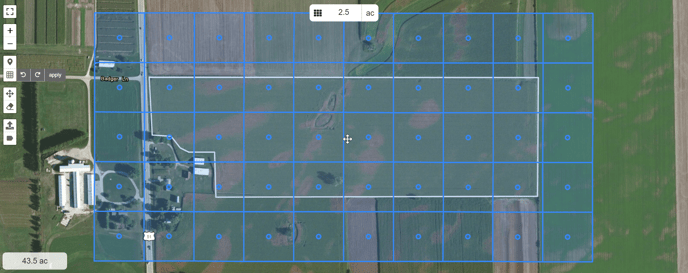
Apply Grid - Click on the Apply Grid to apply points using a grid. Note the box that appears at the top of the map to change grid size. Hovering over the grid arrows icon appears for you to click and move the grid up, down, right, left. At the left side of your screen next to the Apply Grid icon curve arrows allow you to rotate the grid and when you have placed the grid the way you want, click apply to have the sample sites appear. |
|
Drag Layers - Move sample sites around on your screen.
Remove layers - Click on this button to remove sample sites.
Upload Shapefile - This functionality is covered in the article How do I upload a Target Sample Layer?
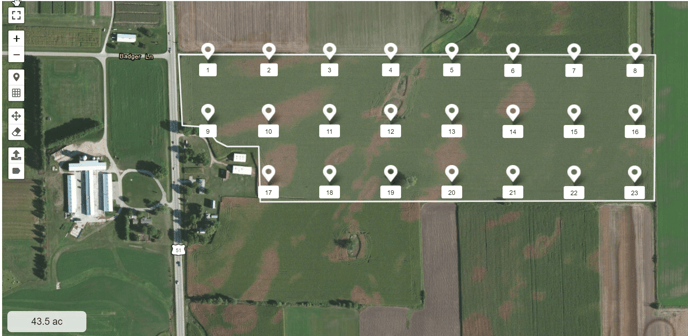
Hide / Show field labels - Display Sample site numbers or Hide them. |
|
| 4. Once you have placed your points as needed and you have filled in the Date Collected, Name, and Lab Account, Click on the green Save & Close button in the bottom right of your screen. You will now see the layer in your list of Sample Events. You can now sync Traction Field - Sample Events and see the layer in Traction Field for Sampling. | 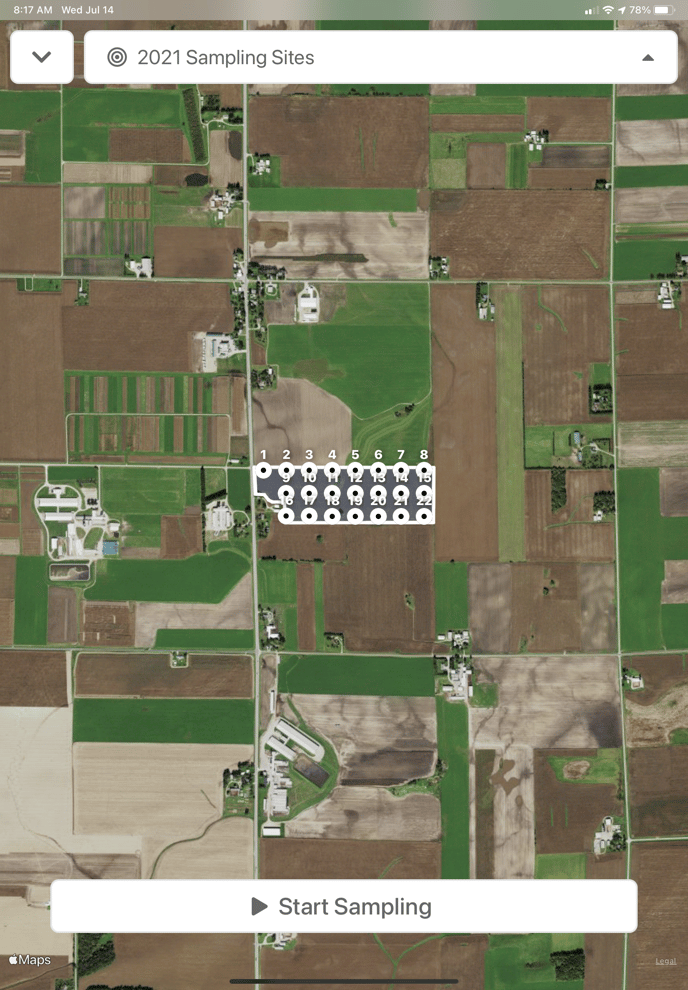 |
