How do I create and view Journal Entries in Traction?
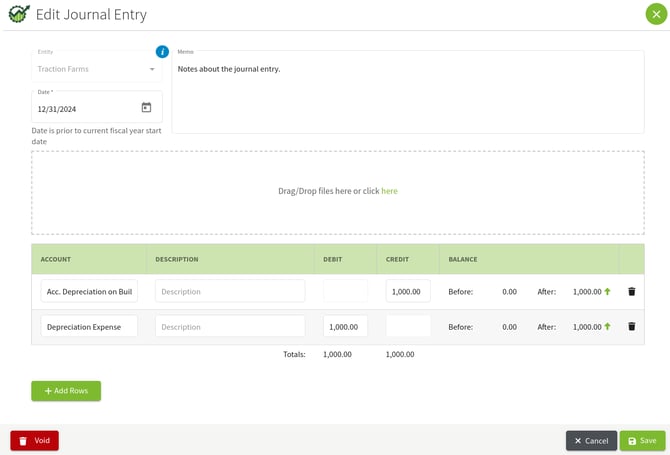
In this article, we'll walk through how to add a manual Journal Entry in Traction — for example, year-end entries related to depreciation adjustments. Your depreciation values are usually provided by your accountant as part of your annual reporting.
📝 A new Journal Entry workflow was released in February 2025.
🤔 If you are attempting to enter your depreciation information and are unsure about what values you should use, please speak with your accountant.
Your depreciation values usually come from your accountant as part of your annual financial report. These values should be entered into your system as opening balances when you set up your accounts.
If your accountant provides updated depreciation figures or you need to make changes later on, you can handle those by creating a journal entry as shown in this article.
Depending on your accountant, this report might be called one of the following:
-
Depreciation Schedule
-
Tax Depreciation Schedule
-
Depreciation and Amortization Report
-
Fixed Asset Depreciation Schedule
-
Depreciation List Report
Jump to a Section
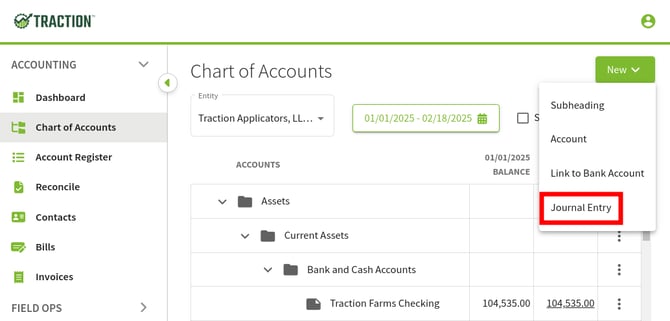
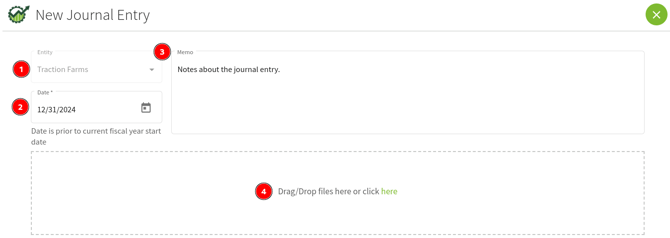
Adding a Journal Entry


Reviewing an Account's Journal Entries
A Journal Entry report will be released later in 2025.
1. Under Accounting, open up the Chart of Accounts, locate the account you want to view the journal entries for and click the balance to open the transaction history for this account.
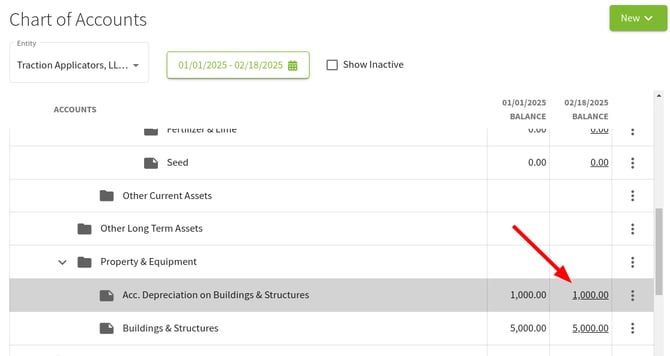
2. A listing of all transactions will be displayed, including journal entries.
🗓️ You may need to adjust the date range to view your journal entry. The default is set for the current calendar year.
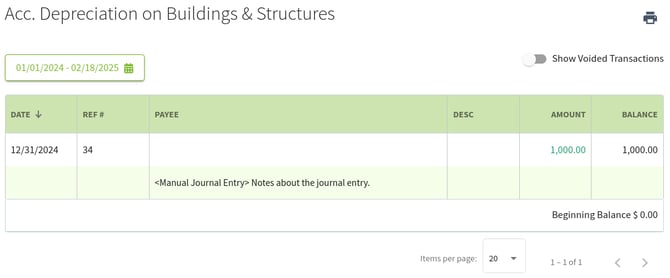
3. Clicking on a transaction will allow you to review the details, make changes, or void the journal entry in its entirety.
