How do I add and edit storage locations in Traction?
This article will demonstrate how to add and edit storage locations in Traction.
| 1. Using the navigation menu on the left of your screen open the Resources menu and select Storage |
|
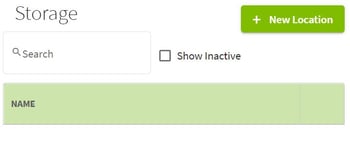
| 2. Click on the + New Location button at the top right of the screen to add a new storage location. |  |
|
3. All users will need to type in the name of the storage location. If this is your storage facility, toggle on the Customer Storage Location button.
If you have a Pro account, you will also want to add the ownership information by toggling the This Storage Location is owned option. Select the entity that owns the location, the corresponding Asset Account from your Chart of Accounts, the purchase date and the purchase cost for this storage location.
If you would like to assign Shrink to This Storage Location, turn on the Shrink button and add the crop(s) for this location by clicking on the +Add Crop
Once everything has been entered, click the Save & Close button. |
|
|
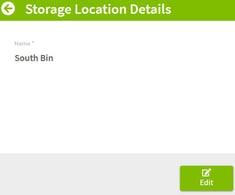
4. To Edit storage location details, click on the three dots at the right of the storage location and select View Details or select Manage Inventory to edit the harvest record.
Click on the Edit button on the bottom right to make changes to the storage location details. |
|
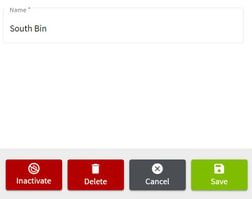
| 5. The Edit screen allows you to change the name, delete, and make inactive. | 
|
| 6. Inactivate: Click on the Inactivate button. Once this is done the button changes to Activate. Click on the Save button to keep your changes. Once you click on the Inactivate button, the storage location will no longer appear in the Storage location list unless you check the Show Inactive box. |
|
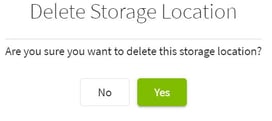
| 7. Delete: Click on the Delete button and then Yes to confirm the deletion. |
|


