| 1. Using the navigation menu on the lefthand side, go to the Field Ops section and select Resources. | 
|
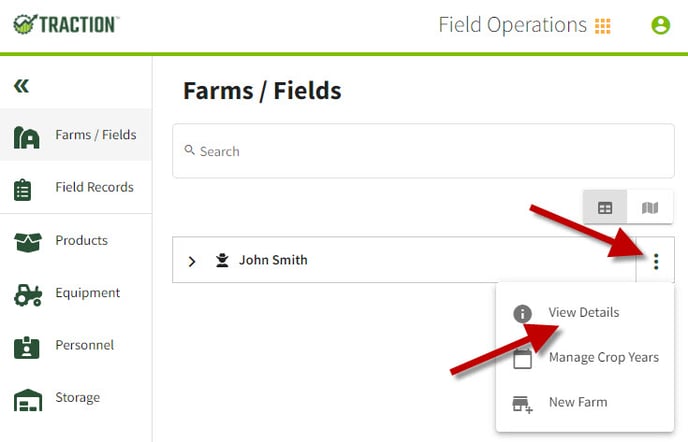
2. Select Farm/Fields tab on the left of your screen. Your grower name will appear. Click on the  icon and select View Details. icon and select View Details. |
 |
|
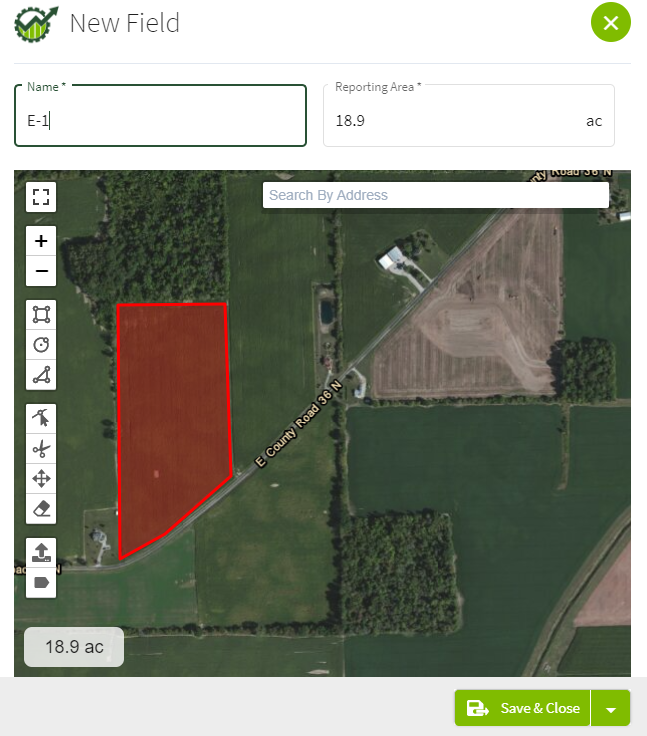
3. Enter your Address information and click on the Save & Close button. |
 |
|
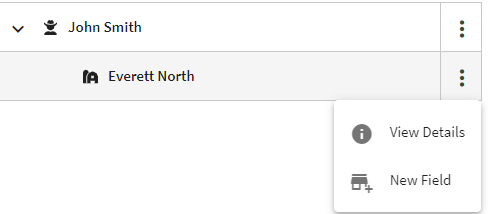
4. Click on the Note when entering a name, avoid special characters when possible, including decimals or periods. |
|
|
5. Click on the Note: Creating field boundaries is optional. This is not required for allocating costs or entering field records into Traction. |
|
|
5. To edit the information of the farm, click on the Note when entering name in Grower/ Farm / or Field avoid special characters when possible, including decimals or periods. |
|