Note* Prior to uploading you will want to have the boundaries for the fields already uploaded to your database and know your labs extraction methods to match to MODUS Id's. If you don't know the labs extraction methods to match to MODUS Id's, please contact our Customer Success team at 888-305-3839 and we will be happy to assist you.
| 1) From the menu in the upper right corner of your screen, choose Tools. | 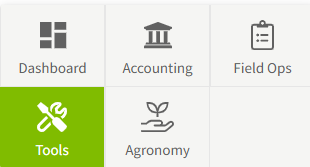 |
| 2) From the Bulk Upload Menu, choose Sample Events. | 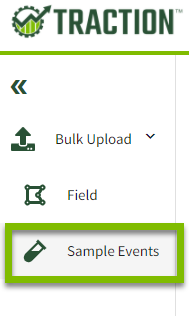 |
|
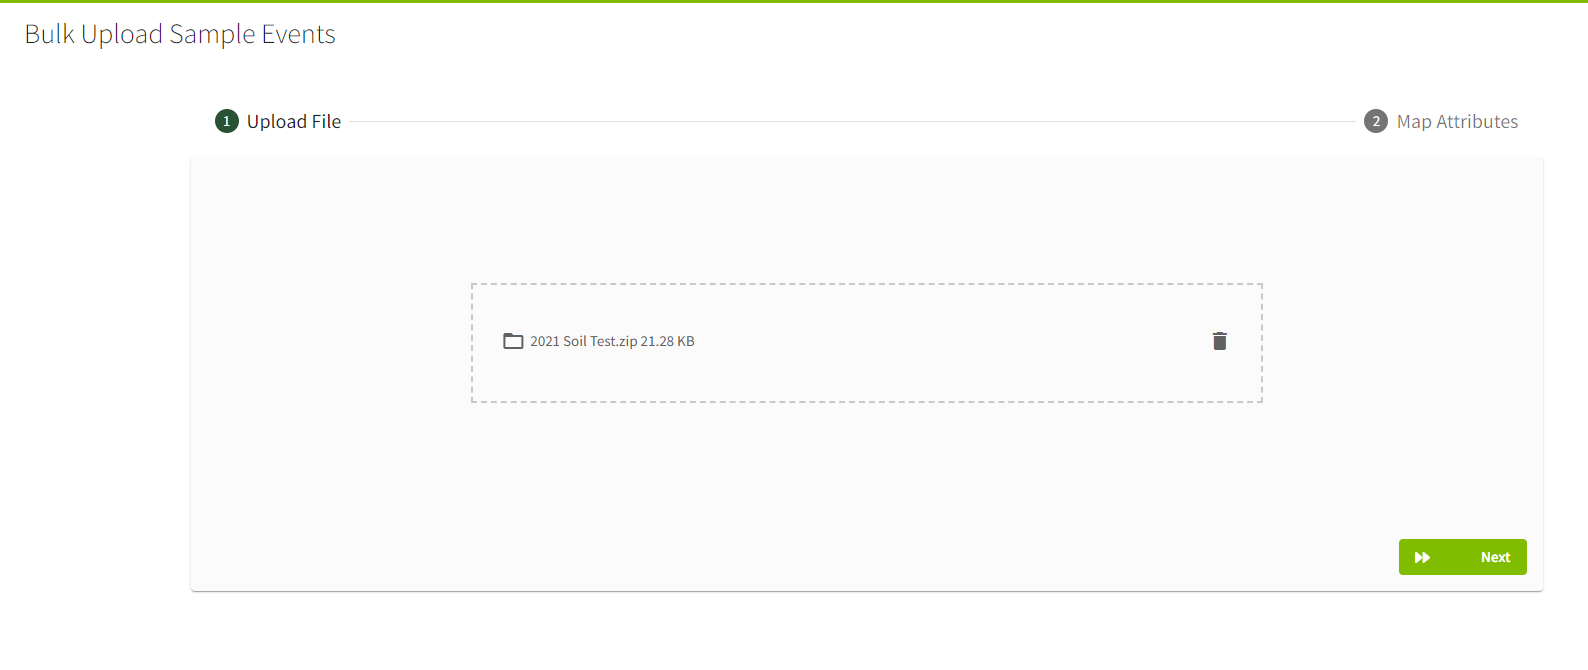
3) Drag and Drop a zipped file of the shapefiles for import or click here in the box to search your computer for the file. Click Next to proceed to Map Attributes step. |
 |
|
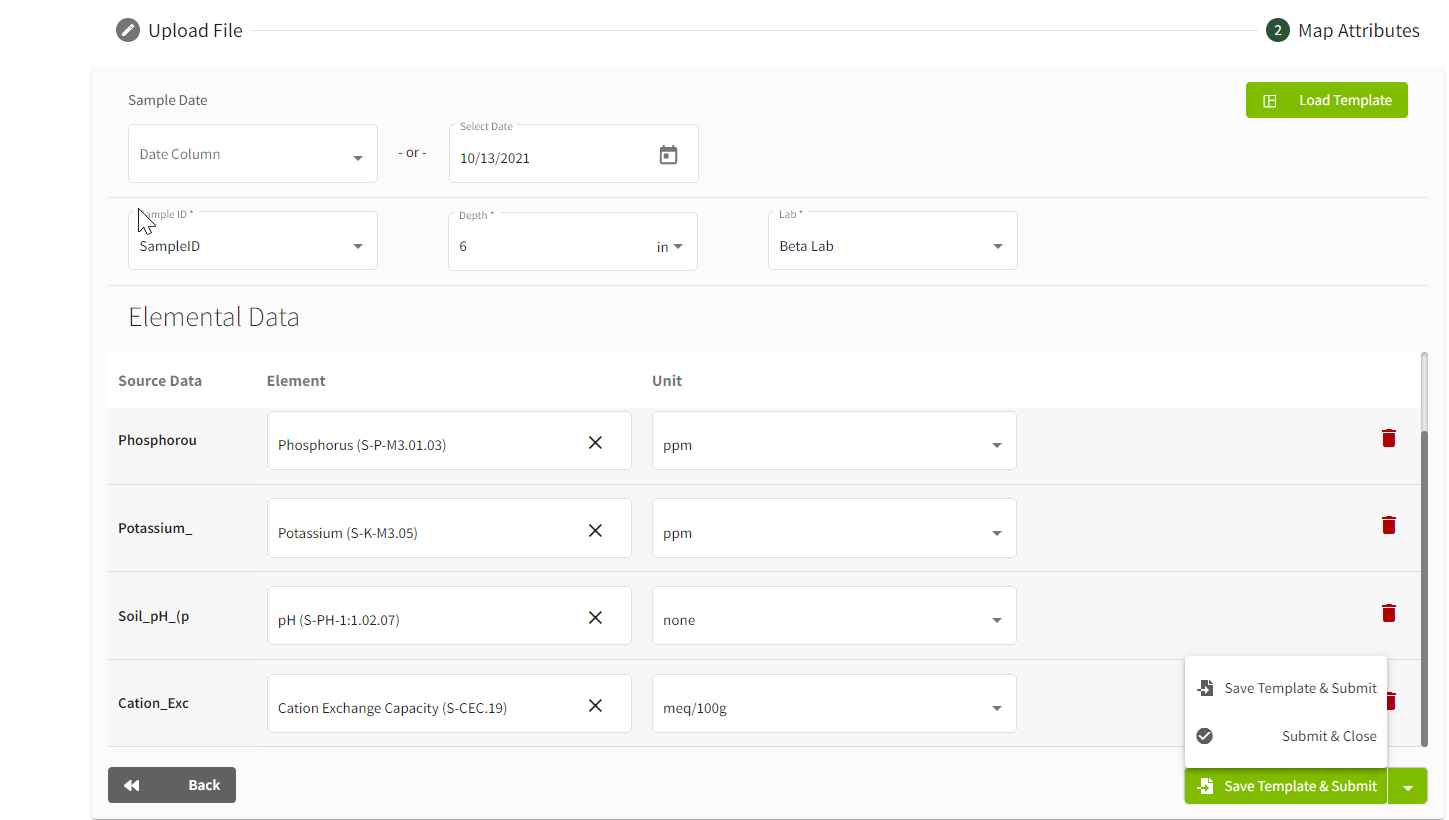
Setting up a Template for the First Time - 1) Sample Date - required field
Note - If you are unsure if your file has a date attribute, send your file to success@tractionag.com and contact us at 888-305-3839 and we will be happy to assist you. Tip - Best Practice if your results files do not have dates you may want to move results into folders according to the dates to import ie. a folder for 2020 results, a folder for 2o21 results, etc. |
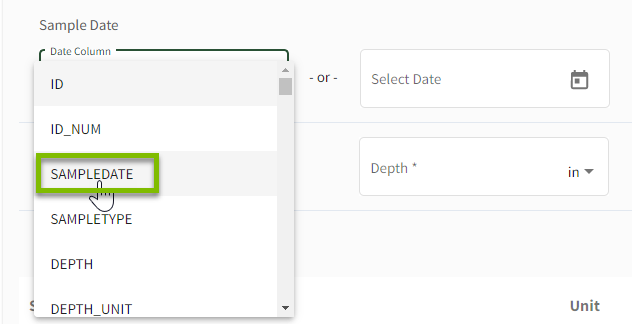
Date in the results File - Choose Date Column and choose the date attribute from the list (Note - naming of the attribute may vary)
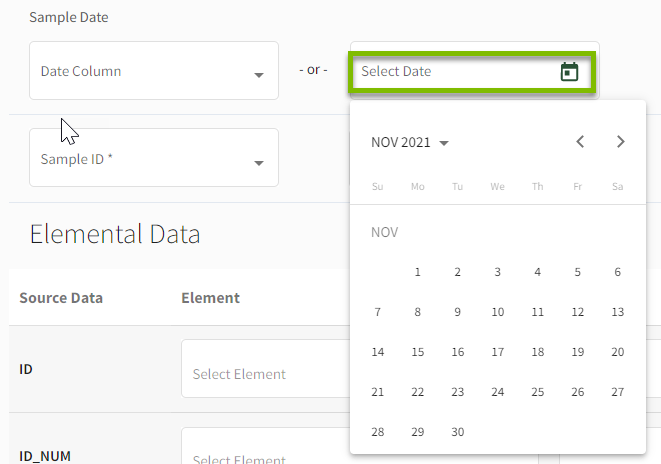
Date not in the results File - Choose the Select Date with the calendar icon to choose your date. Clicking on the drop down arrow next to the month and year will bring up years if you need to go back further in years.
|
|
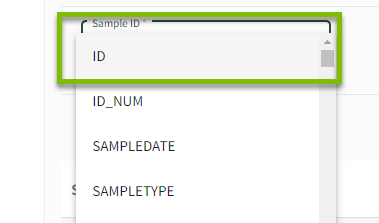
2) Sample ID - required field In the Sample ID box choose the drop down and map to your Sample ID attribute. Note - Attribute names may vary - In the example to the right the attribute is named ID. |
 |
|
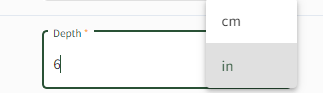
3) Depth - required field Type in the depth the samples were taken and in the drop down you can choose between inches and centimeters. |
 |
|
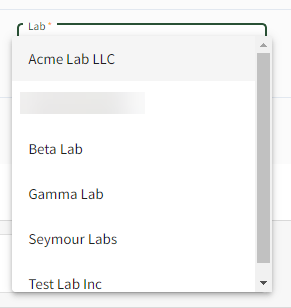
4) Lab - required field In the Lab box choose the lab who processed the results for the file from the drop down options. If you do not see your lab listed, please contact Traction Customer Success for assistance at success@tractionag.com or 888-305-3839.
|
 |
|
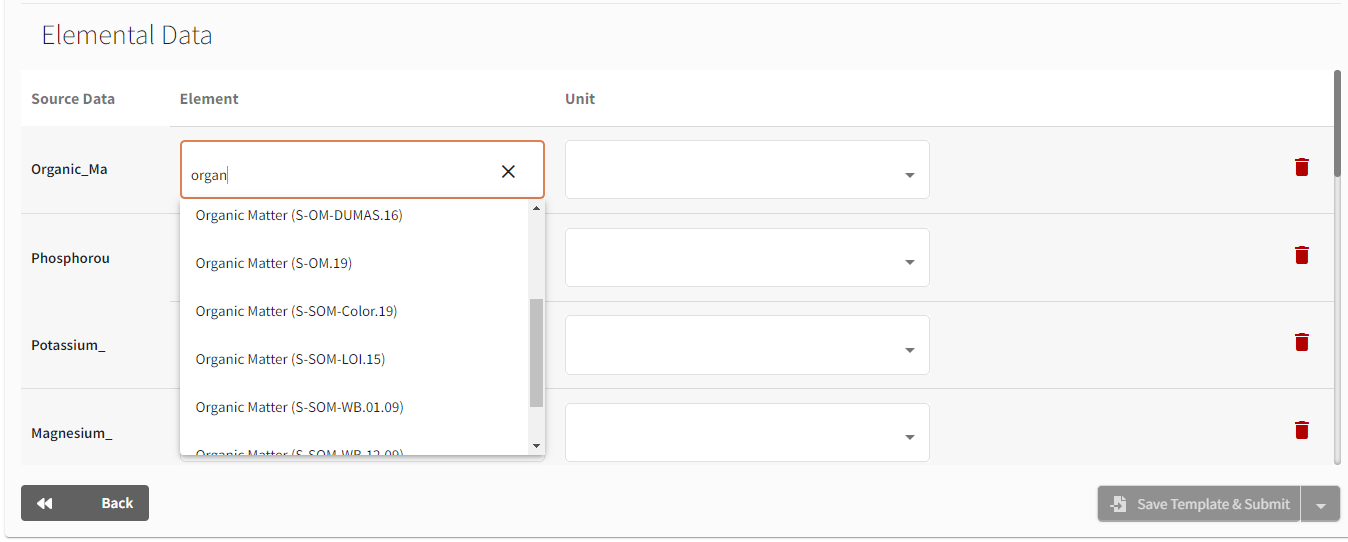
5) Elemental Data Your file attributes will populate in Source Data to let you know what attributes are in the file.
Note: If you are unsure about what MODUS ID should be used for your results, contact customer success at success@tractionag.com or 888-305-3839 and we will be happy to assist. Success will need the following items to assist -
|
Element -
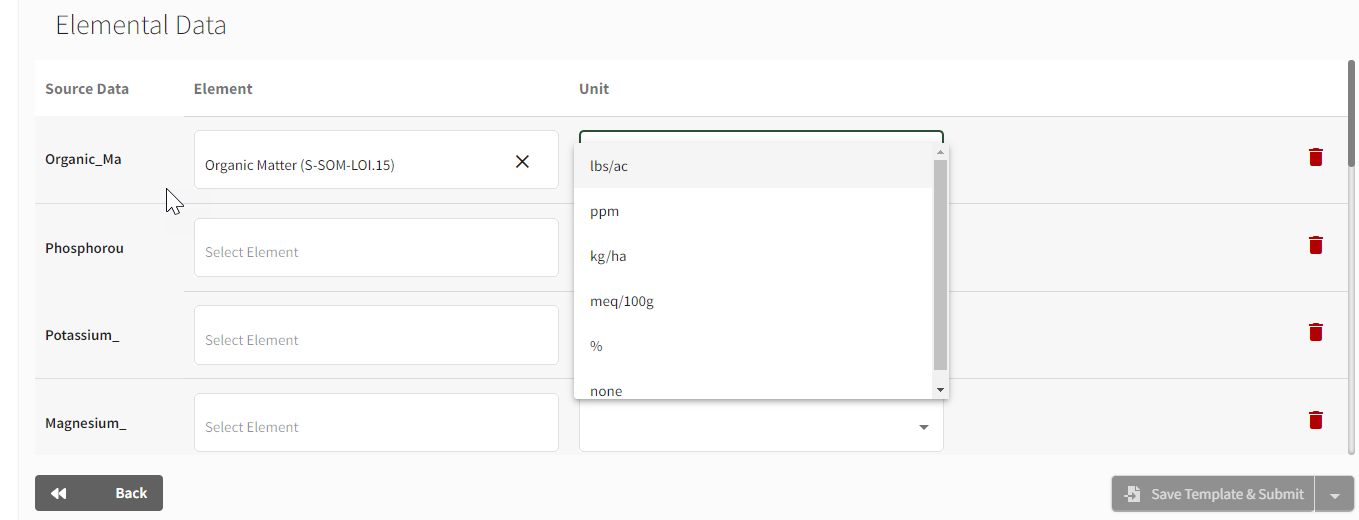
Unit -
|
|
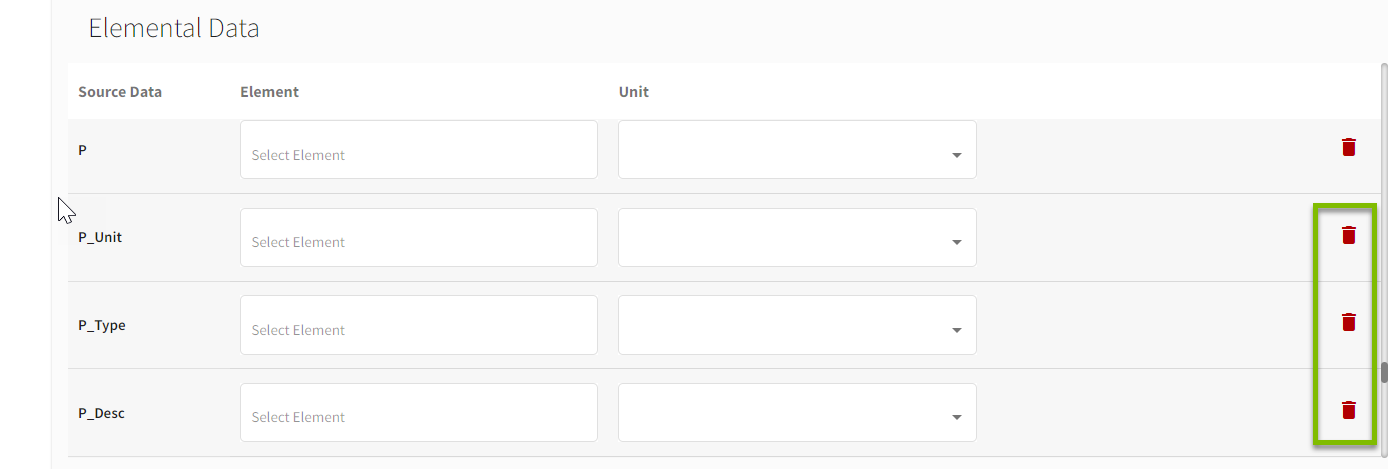
Elemental Data (continued) - If you have an attribute in the file that is not a soil test attribute or a needed attribute, you will use the trash can to the right of the screen to remove that attribute from the list. In the example to the right - my values are under the P attribute and I am going to set my Unit of measure there. So I do not need the P_Unit, the P_Type, or P_Desc and would delete them from my template set up using the trash can icon. |
 |
|
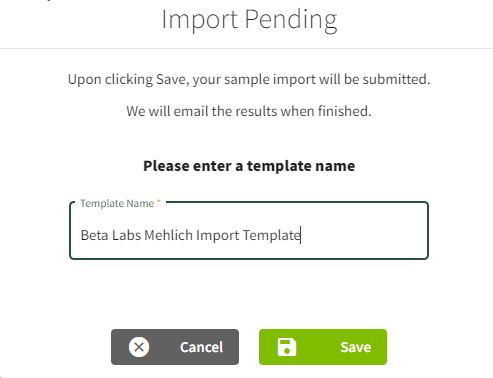
6) Once you have
the Save Template & Submit will become active in the lower right corner of your screen. Choose Save Template & Submit to save the template you just created to use for future uploads and to submit the files you just uploaded for processing. You will receive a message on your screen letting you know that once you choose Save the files will be processed. You will also be asked to enter a template name. Then choose Save. Note - Depending on the number of files you are trying to upload it may take the servers some time to process the data and interpolate the maps. |
|
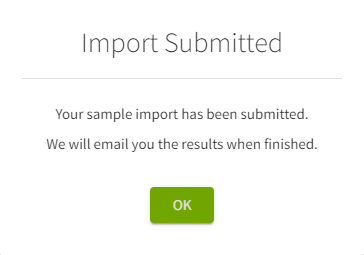
| You will also receive an email letting you know if there were errors or if everything processed successfully. | 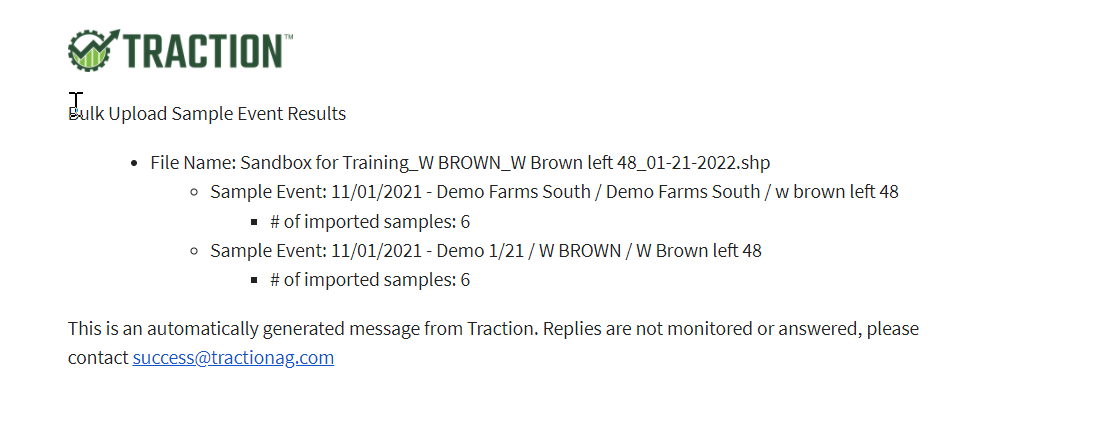 |
|
Uploading results using a Template - Once you have a template set up, you can use that template to upload additional files from the same lab and using the same extraction methods. 1) Drag and Drop a zipped file of the shapefiles for import or click here in the box to search your computer for the file. Click Next to proceed to Map Attributes step. |
 |
| 2) In the Map Attributes step, choose the Load Template button to the right of your screen. |  |
|
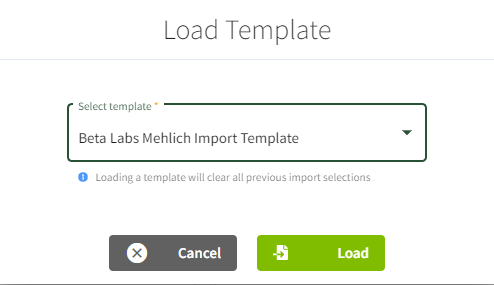
3) In the Select template drop down, choose the appropriate template for your results and then choose Load. Choose Cancel to exit the Load Template dialog box without selecting a template. |
 |
| 4) Enter a Sample Date either by using the Date Column and choosing the Date attribute in the file or by using Select Date and the calendar icon to manually set a date. | 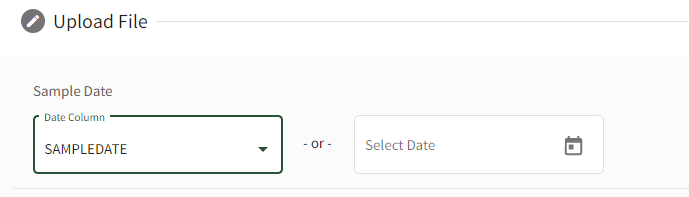 |
|
5) If there are additional attributes that are not needed in the upload file versus the created template you will need to remove these attributes using the trash can icon to the right side of your screen. Note - The Save button will not become active until all attributes that are needed are mapped and the attributes that are not needed are removed. |
 |
|
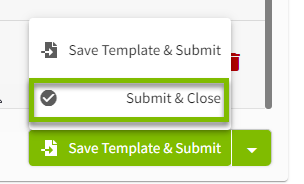
6) Choose Submit and Close We already created the template so we can choose the Submit and Close option to finish the upload process. Note - if you do need to make changes to an existing template or see additional attributes in this file and would prefer setting up another template, you can use Save Template & Submit to update the existing template with new attributes or to give the template a new name to save another template. |
|