How do I edit a crop zone from the import queue in Traction?
This article demonstrates how to edit a crop zone from the import queue in Traction.
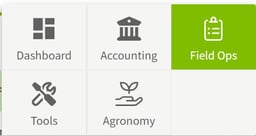
|   1. Click on Dashboard and select Field Ops. | 
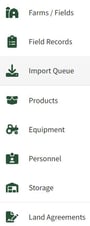
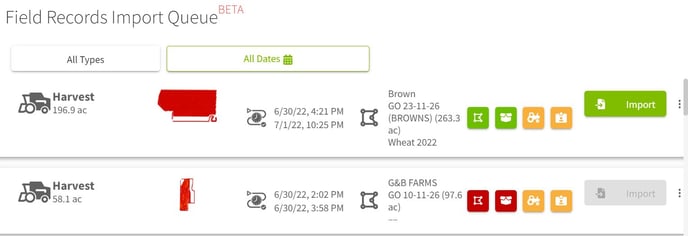
|   2. Select the Import Queue from the menu on the left side of your screen. | 
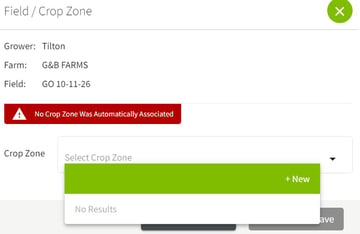
| 
  3.  Click on the  | 
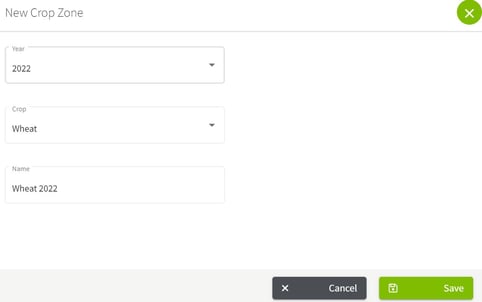
|   4. Fill in the information for the new crop zone then click on the Save button. | 
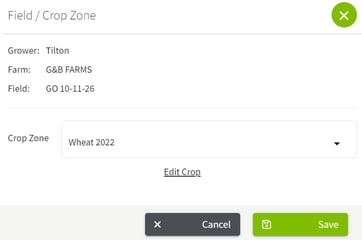
|   5. Click on the Edit Crop button to make any changes. If the crop zone is correct, click on the Save button. | 
| 
 6. Click on the Yes button to confirm the recalculating of total dry yield. | 
| 
 7. The boundary has been selected after editing the crop zone has been completed. | 
![Type=Full, Color=Light, Lockup=Default@2x.png]](https://success.tractionag.com/hs-fs/hubfs/Type=Full%2c%20Color=Light%2c%20Lockup=Default@2x.png?height=32&name=Type=Full%2c%20Color=Light%2c%20Lockup=Default@2x.png) 


 boundary icon and then click on the arrow in the right corner of the Crop Zone box.  Next, click on the +New button.
boundary icon and then click on the arrow in the right corner of the Crop Zone box.  Next, click on the +New button. 
