How do I create a Sample Event in Traction Field?
This article will demonstrate how to create a Sample Event in Traction Field
The Traction Field app is now available in the App Store. Please contact Traction at 1-888-305-3839 or success@tractionag.com for more information.
|
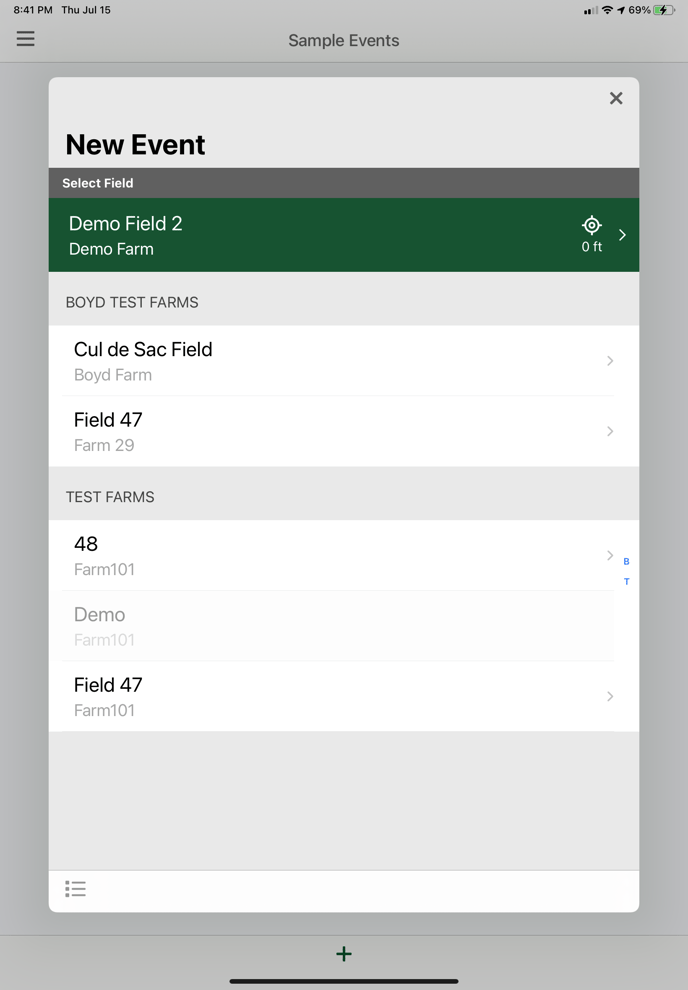
Method 1. From the Main Screen, tap on Sample Events. Tap on the + at the bottom of the screen. This opens the New Event - Select Field box, you will then tap on the Field you would like to sample. Once you tap the Field, you will see the New Event - Select Sample Method in the image below. |
|
|
Method 2. From the Main Screen, tap on Farms / Fields and select the Field you would like to sample. Once in the individual Farm / individual Field screen, tap on
in the lower right hand corner of the screen. This will launch the New Event dialog box.
|
 |
|
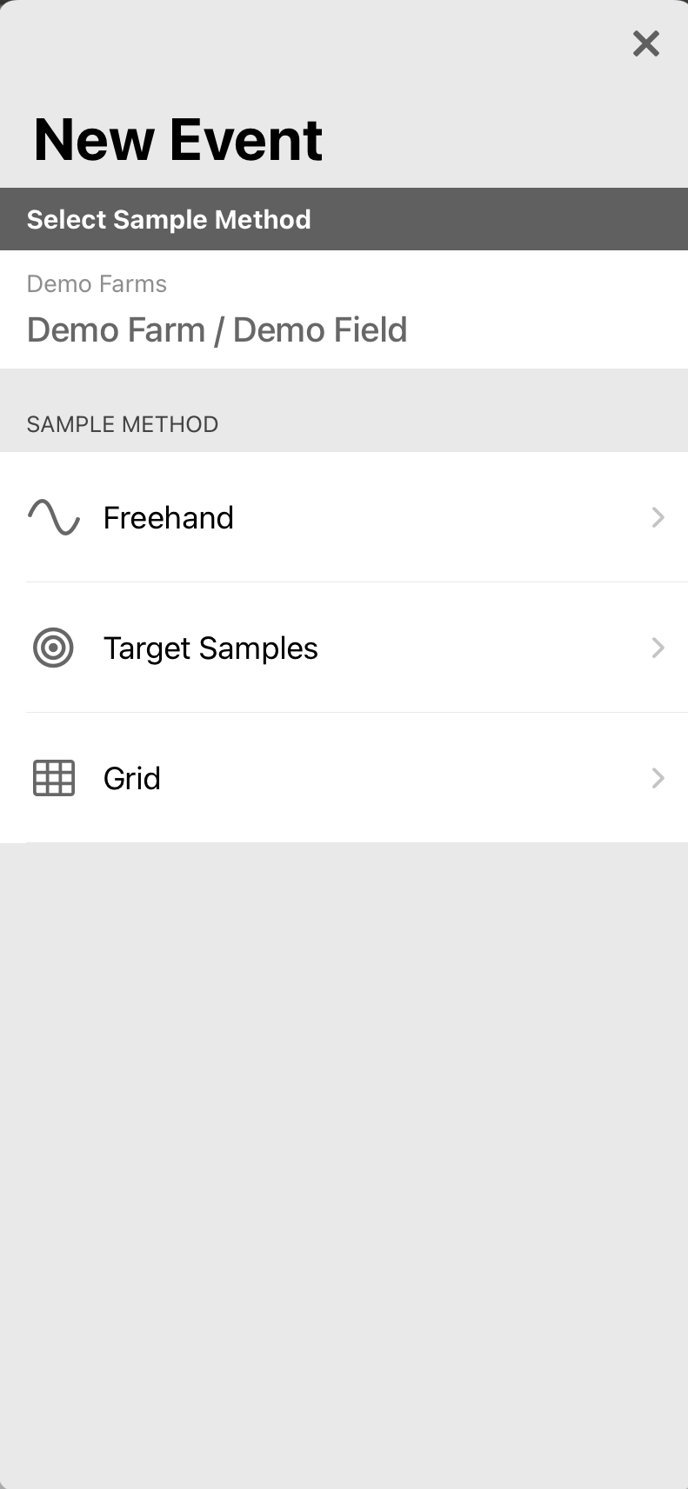
1. The New Event dialog box will open and you can choose your sample method -
|
|
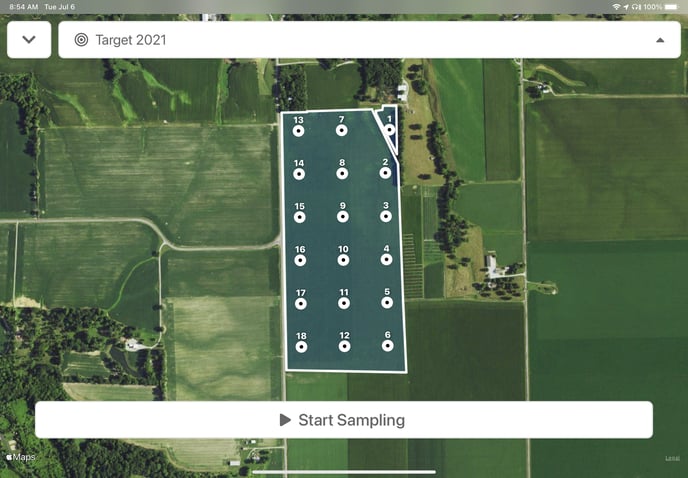
 Target Samples are events that you have created either as a previously sampled Sampling Event or in Traction Basic Agronomy you have created or uploaded a shapefile of a target sample layer. When you tap on Target Samples, it will display the field to begin sampling. If you have multiple Target Samples layers, you can go to the white banner at the top of the app and choose the layer from the drop down menu that you would like to use to begin sampling. Once you have the appropriate layer selected, proceed to the first sampling point and tap on the Start Sampling. Tap the Mark Sample button to begin marking your points. Note that the samples will change to a green circle with a check mark as they are completed. When you are finished tap on Target Samples are events that you have created either as a previously sampled Sampling Event or in Traction Basic Agronomy you have created or uploaded a shapefile of a target sample layer. When you tap on Target Samples, it will display the field to begin sampling. If you have multiple Target Samples layers, you can go to the white banner at the top of the app and choose the layer from the drop down menu that you would like to use to begin sampling. Once you have the appropriate layer selected, proceed to the first sampling point and tap on the Start Sampling. Tap the Mark Sample button to begin marking your points. Note that the samples will change to a green circle with a check mark as they are completed. When you are finished tap on  in the upper right hand corner of your screen. in the upper right hand corner of your screen.
|
|
|
|
|
|
When you have finished the appropriate sample method and have tapped
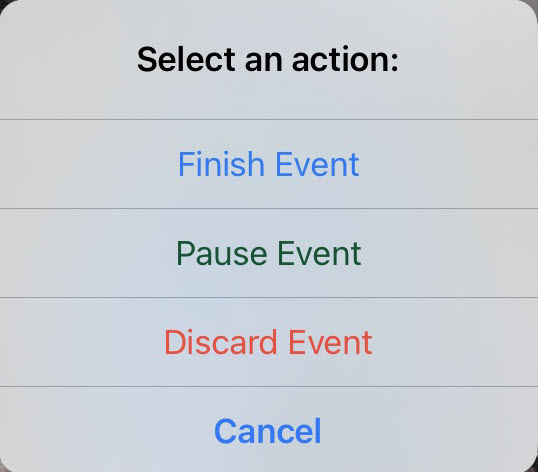
to complete you will see the Select an action dialog box open. Tap Finish Event if you have completed the sampling event as desired. This will move the event to the Finished list in the Sample Events option on the Main Menu. Tap Pause Event if you need to pause sampling, for example it rains and you will need to come back the next day to finish the field, this will move the field to the Paused list in the Sample Events option in the Main Menu. you can then tap on the paused event when you are ready to resume the event and continue with the work flow. Tap Discard Event if you want to discard the sampling you have just done and start over. Tap Cancel if you want to get out of the Select an Action dialog and go back to the sampling screen.
|
|

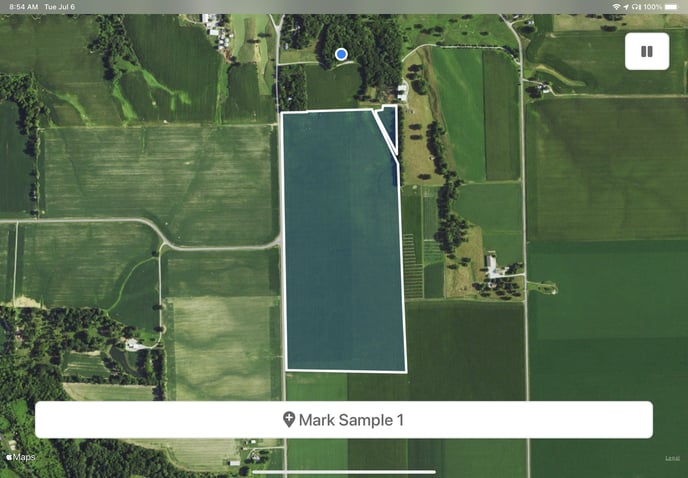
 When you tap the Freehand button the app will show the field and you can tap the Mark Sample at the bottom or your screen to begin randomly assigning points using the coordinates of where you at in the field, when you tap the Mark Sample button. When you have completed marking the samples as appropriate, tap the
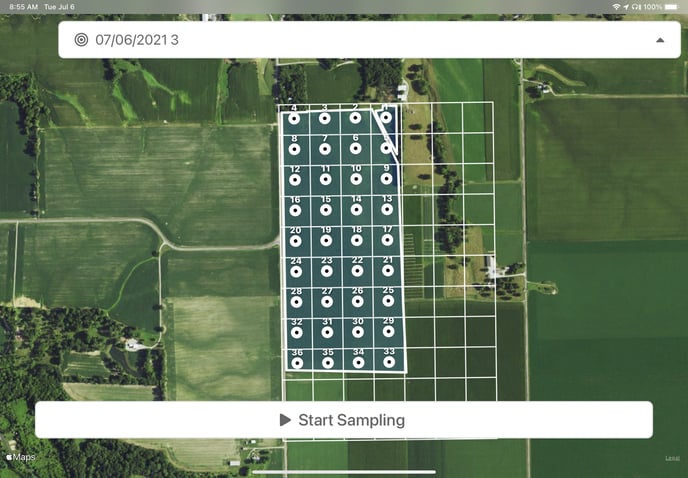
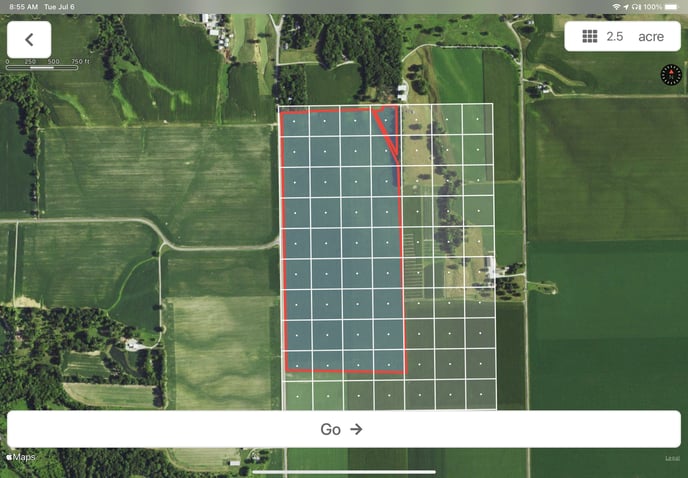
 You can also lay a grid on the field and have it place target samples on the field using the grid. Tap the Grid sample method and the app will go to the field image. You will see the grid size in the upper right corner. The image on the right is set to 2.5 acre grids, you can adjust this by tapping
  and entering the appropriate size. Down at the bottom of the screen will appear a white banner with the word Apply, tap Apply to see the grid size adjust. Once you have the grid size the way you want, you can also adjust the layout of the grid. Tap on the screen and keep your finger down on the screen, you can then move your finger up, down, right, or left to move the grid. If you need to turn the grid, place a second finger on the screen and keep both fingers on the screen, you can now begin to rotate the grid over the field. Once you have the grid placed the way you want over the field, you should notice in the bottom of the screen in the white banner, you now have the word Go. Tap Go to begin sampling. The white banner at the bottom of the screen now says Start Sampling. Tap Start Sampling, and that banner will change to Mark Sample. Tap Mark Sample every time you need to record a point sampled, this will change the point to green with a check mark. When you have finished sampling tap
